
Intro
Searching for an interesting finish to WOW your guests (or clients)?
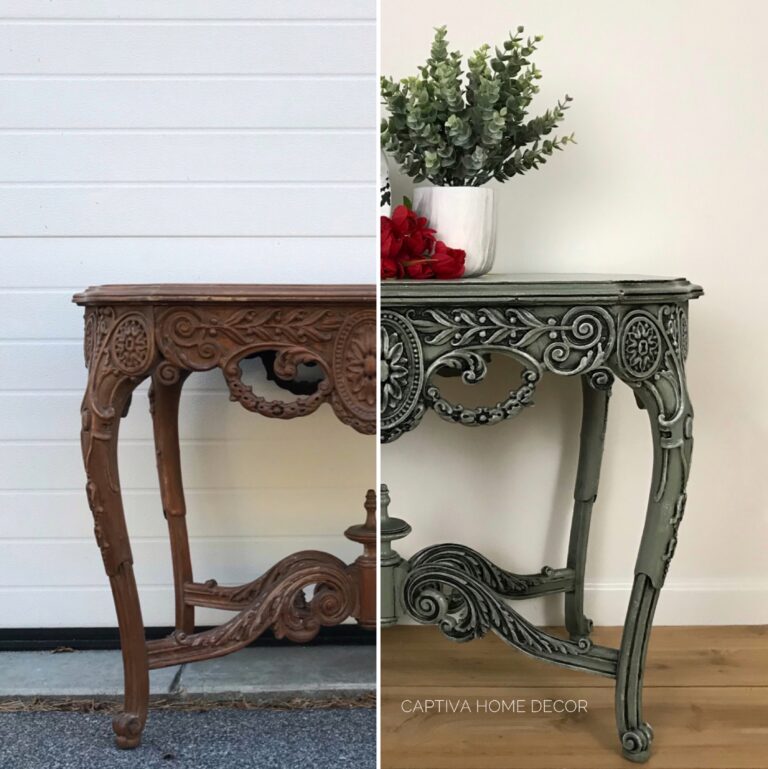
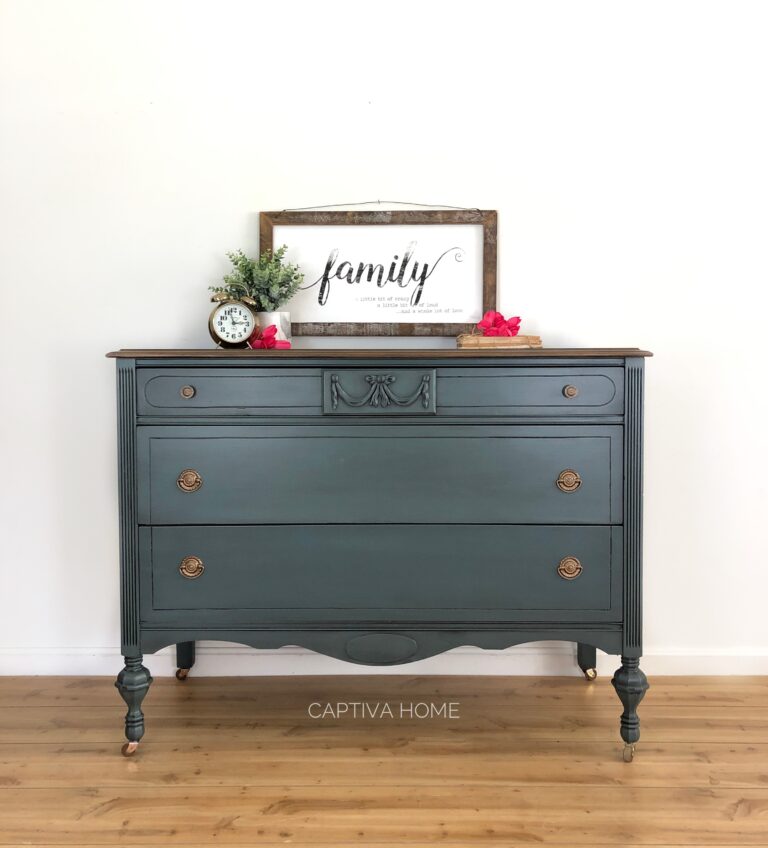
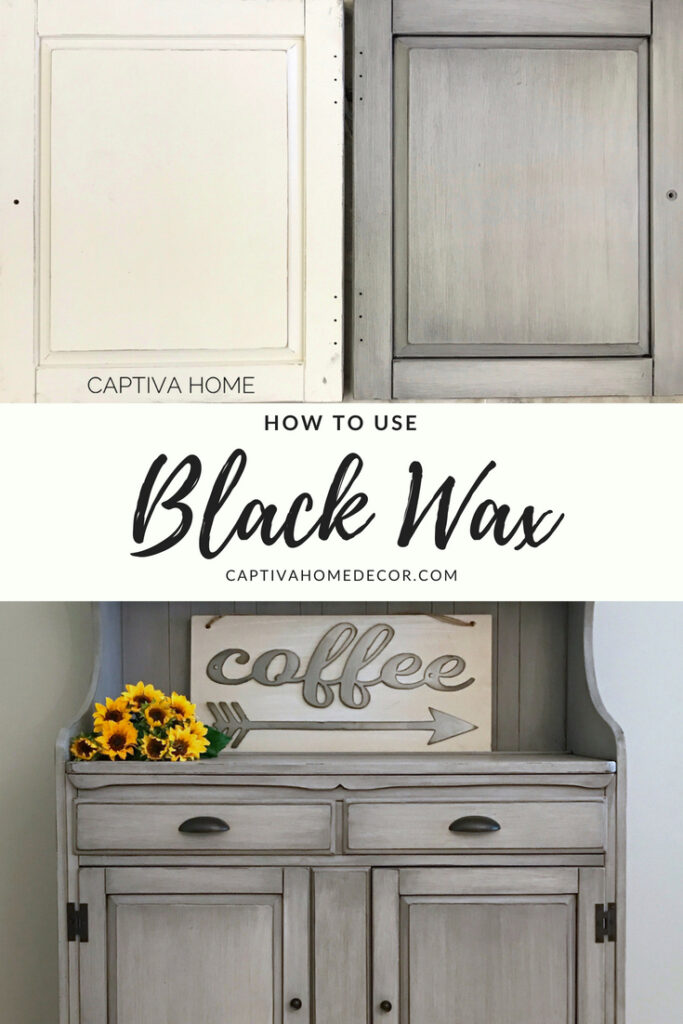
The “Smoky Pearl” is one of my favorite techniques for creating a rich, dimensional finish that feels layered, moody, and completely custom. It’s one of those finishes that looks complicated—but once you understand the process, it’s actually very doable.

This is the “Smoky Pearl” finish using a dark wax technique to create depth and dimension.
This post may contain affiliate links, which means I may earn a small commission at no extra cost to you. I only recommend products I personally use and trust.
Important Update!
Originally, this finish relied heavily on Maison Blanche Black Lime Wax—which created that signature smoky, translucent depth.
Since Maison Blanche is no longer available, I’ve tested alternatives and found that you can achieve a very similar look using a combination of:
- Dixie Belle Chalk Mineral Paint + dark wax or glaze
- Annie Sloan Chalk Paint + dark wax
The effect is slightly different, but you can absolutely recreate that same layered, smoky dimension with the right technique.
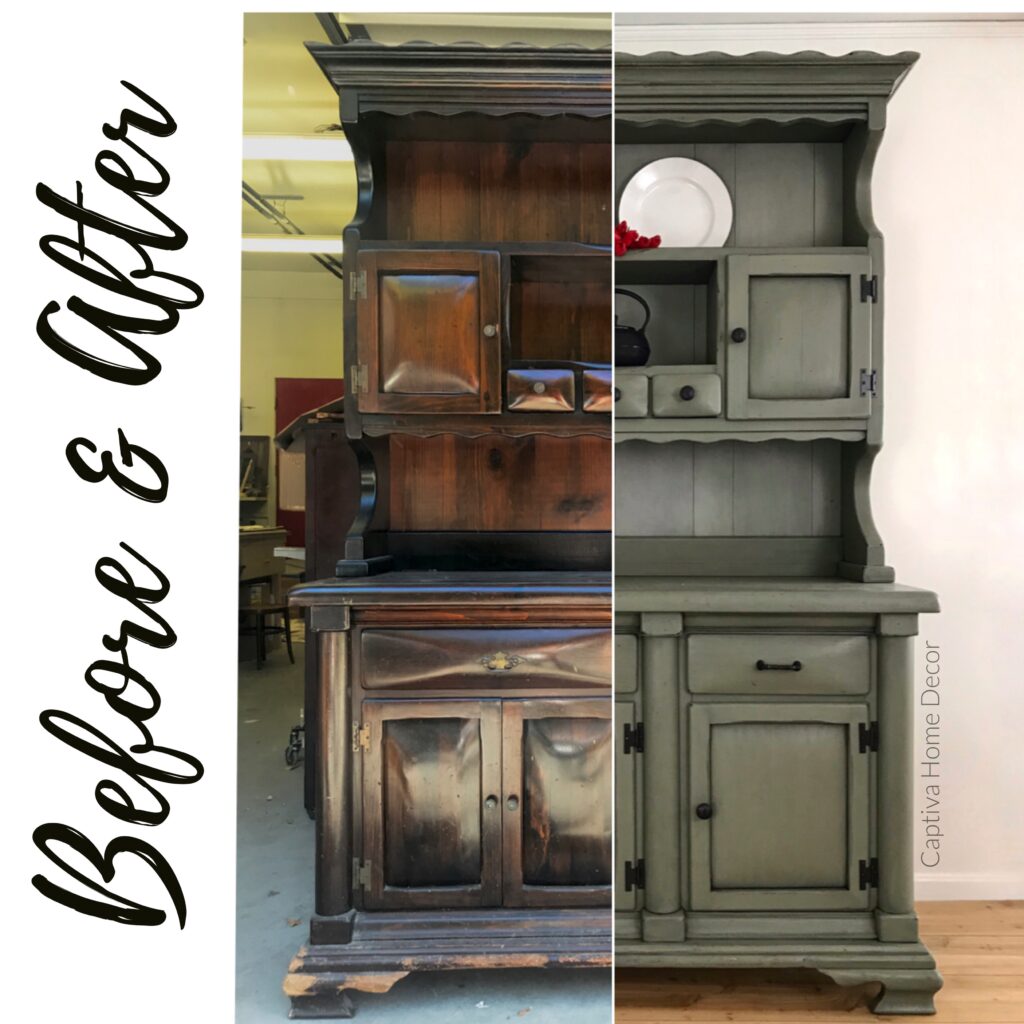
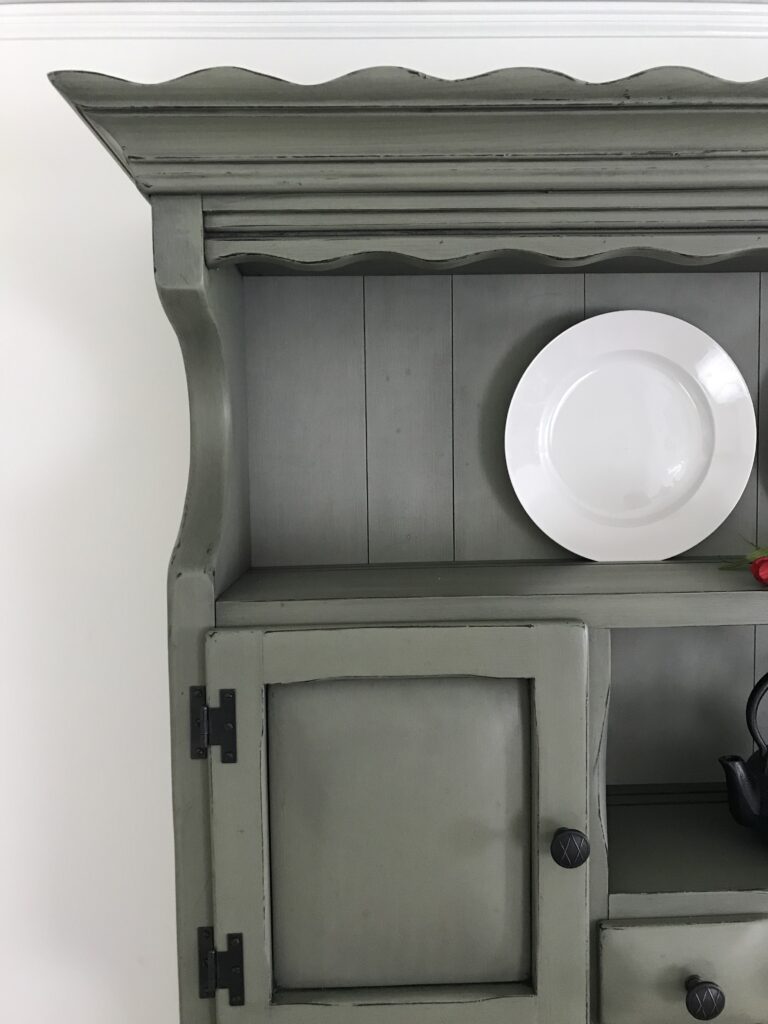
Before Photo
Materials Used
Here’s what I recommend using to recreate this finish:
Paint Options:
Tools:
- High-quality brush (ClingOn or Purdy)
- Sanding pads
- Wax brush
- Clean, white rags
For the Smoky Effect:
- Dark wax OR glaze (Dixie Belle or Annie Sloan)
Finishing Touches:
- Rub N Buff (for hardware)
PREP
No one loves prep work—but it’s what makes the biggest difference in your final result.
Start by removing hardware (store it safely!) and thoroughly cleaning your piece. I like using a mix of denatured alcohol and water to remove any residue.
Lightly sand the surface to help the paint adhere. This finish actually benefits from character—so don’t stress about making everything perfectly smooth.
If you’re concerned about bleed-through, use a shellac-based primer. It can save you from having to redo your entire piece later.
PAINT
This finish is all about texture.
Pour your paint into a smaller container (trust me—don’t work straight from the can). Then apply using a high-quality brush.
Instead of aiming for a perfectly smooth coat, intentionally build texture. I like using a crosshatch pattern to create movement and depth.
The key is consistency—make it look intentional, not messy.
You’ll likely need 2–3 coats depending on coverage.
SAND
Once dry, lightly sand the entire piece to soften the texture.
Then go back and focus on areas where you want highlights. The smoother the surface, the more product you’ll be able to remove later—which creates contrast and dimension.
GLAZE / WAX (UPDATED CORE STEP)
This is where the magic happens.
Instead of the original Black Lime Wax, use a dark wax or glaze to create that smoky depth.
Then quickly wipe it back with a clean rag.
The goal is to leave product in the crevices while pulling it off the flatter areas—this is what creates that signature smoky, layered look.
Work in small sections. Apply the product with a brush, pushing it into all the details, edges, and texture.
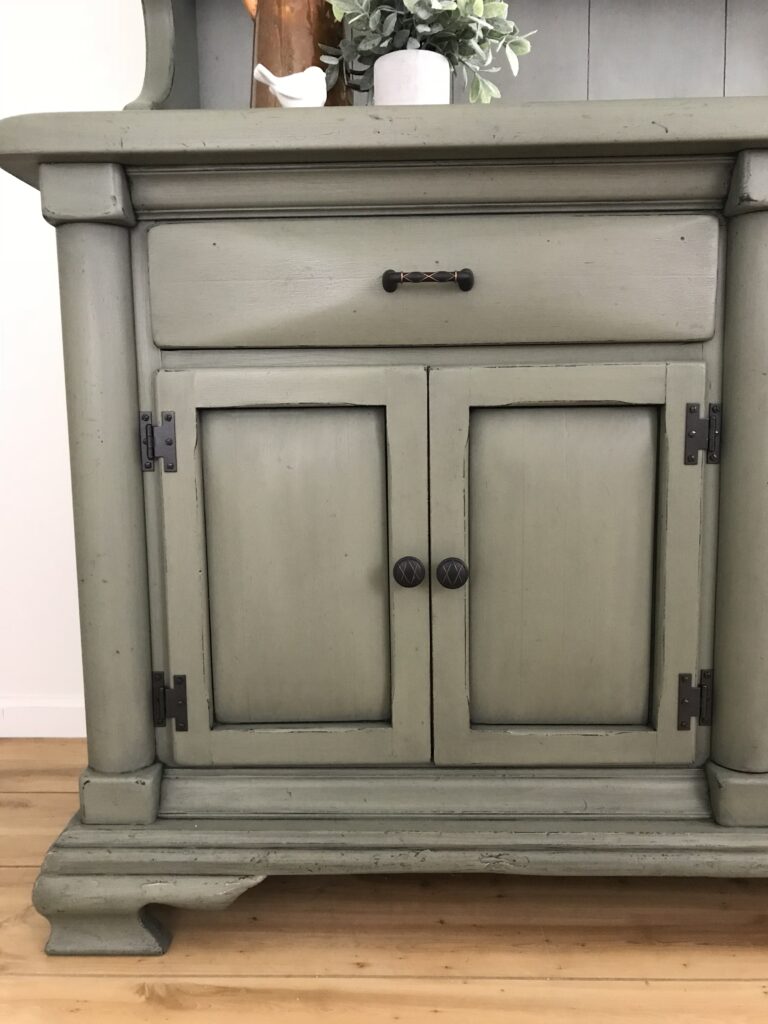
FINISHING TOUCHES
Once everything has dried, lightly buff the surface with a clean, lint-free rag to bring out a soft sheen.
Update your hardware with Rub N Buff for a quick transformation—it makes a bigger impact than you’d think.
Reassemble your piece, remove tape, and step back—you’ll start to see the depth and dimension come through.
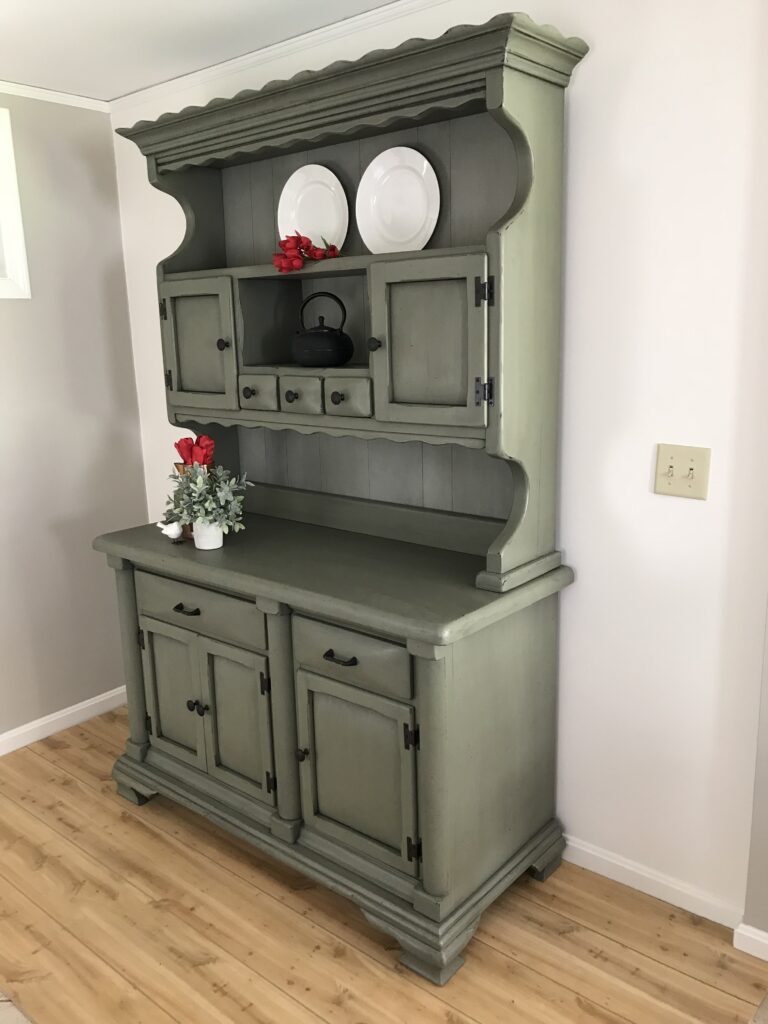
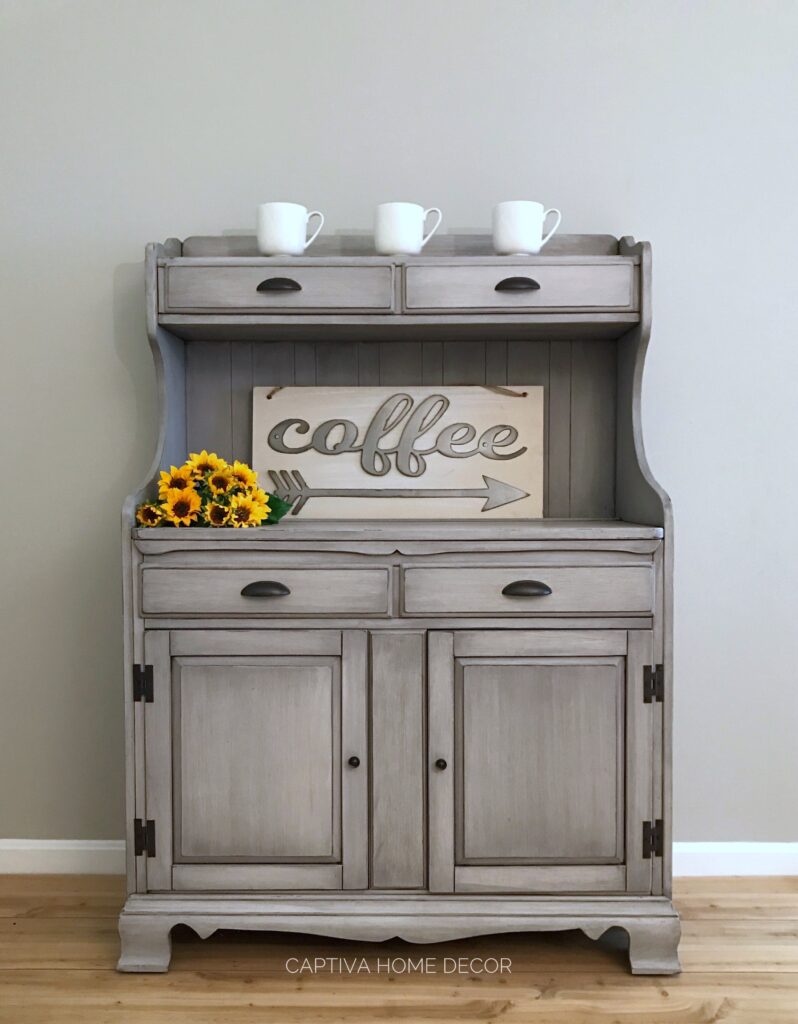
After Photos

Materials Used
Here’s what I recommend using to recreate this finish:
Paint Options:
Tools:
- High-quality brush (ClingOn or Purdy)
- Sanding pads
- Wax brush
- Clean, white rags
For the Smoky Effect:
- Dark wax OR glaze (Dixie Belle or Annie Sloan)
Finishing Touches:
- Rub N Buff (for hardware
Conclusion
This “Smoky Pearl” technique is still one of my go-to finishes when I want something a little more elevated and unique.
If you try it, I’d love to see your results!
Keep Reading: Furniture Painting Guides You’ll Actually Use
If you’re working on a furniture project, these are the exact guides I recommend (this is the system I personally follow 👇)
🎯 Start Here (Core Guides)
🛠 Fix Common Problems
🎨 Choose the Right Products
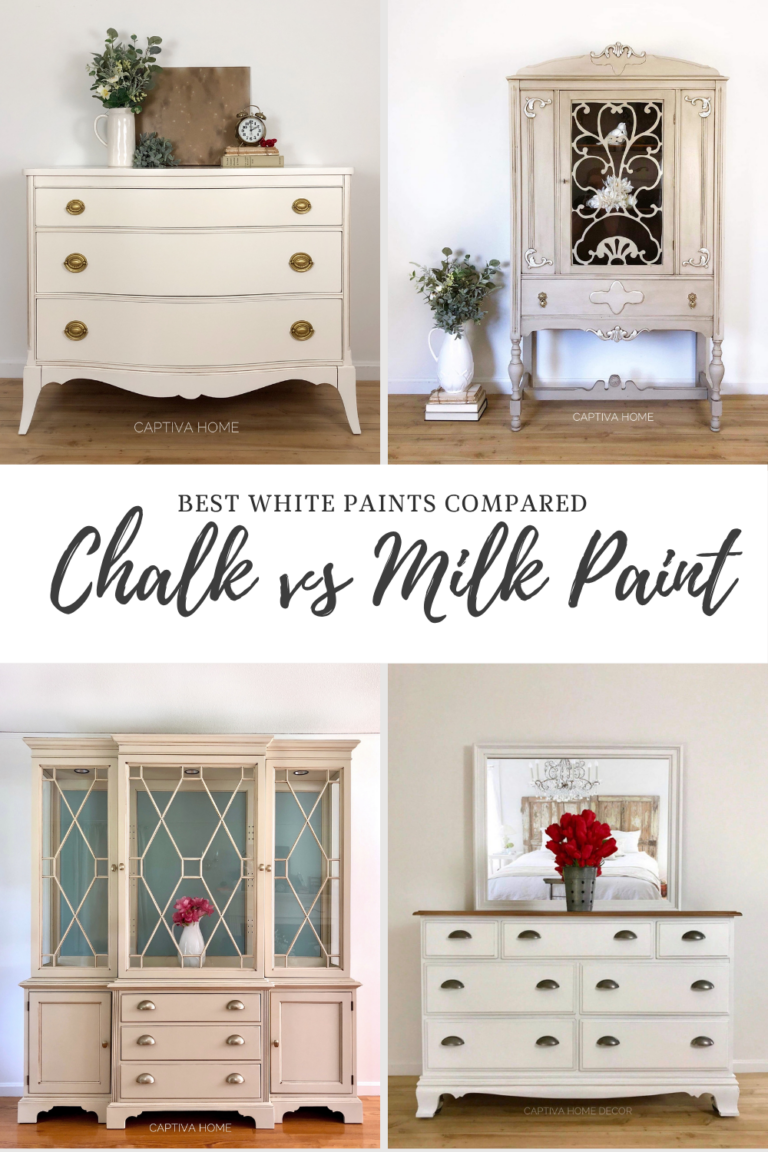
- Best White Paint for Furniture
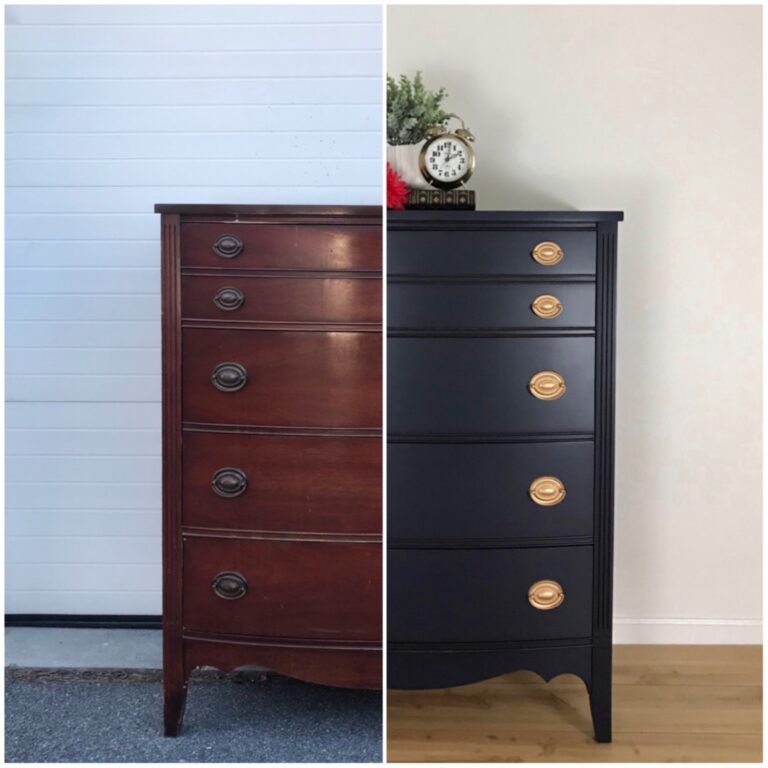
- Best Black Paint for Furniture
- Best Primer for Furniture
👉 These will walk you through exactly what to use and how to get a professional finish.
🔥 Want the exact supplies I use?
👉 Check out my Furniture Painting Starter Kit (everything I use in one place)