
Intro
If you’ve been wanting to try painting furniture, this is one of the easiest and most forgiving ways to get started.
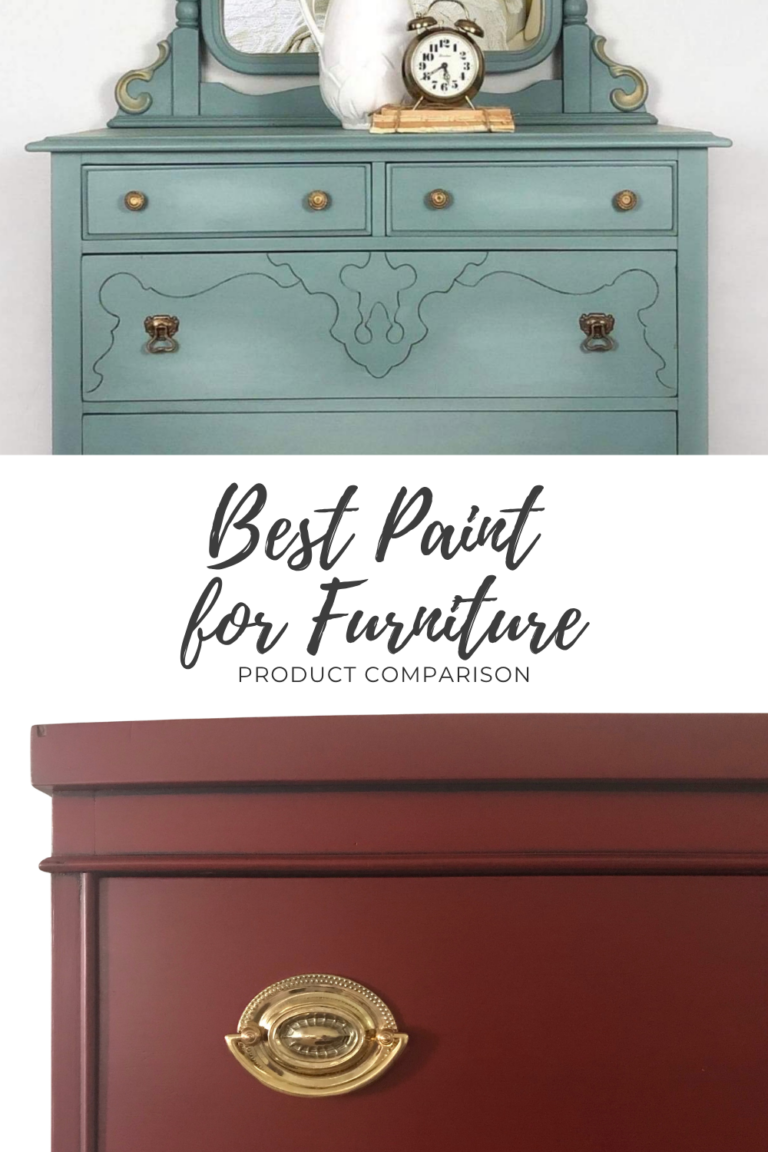
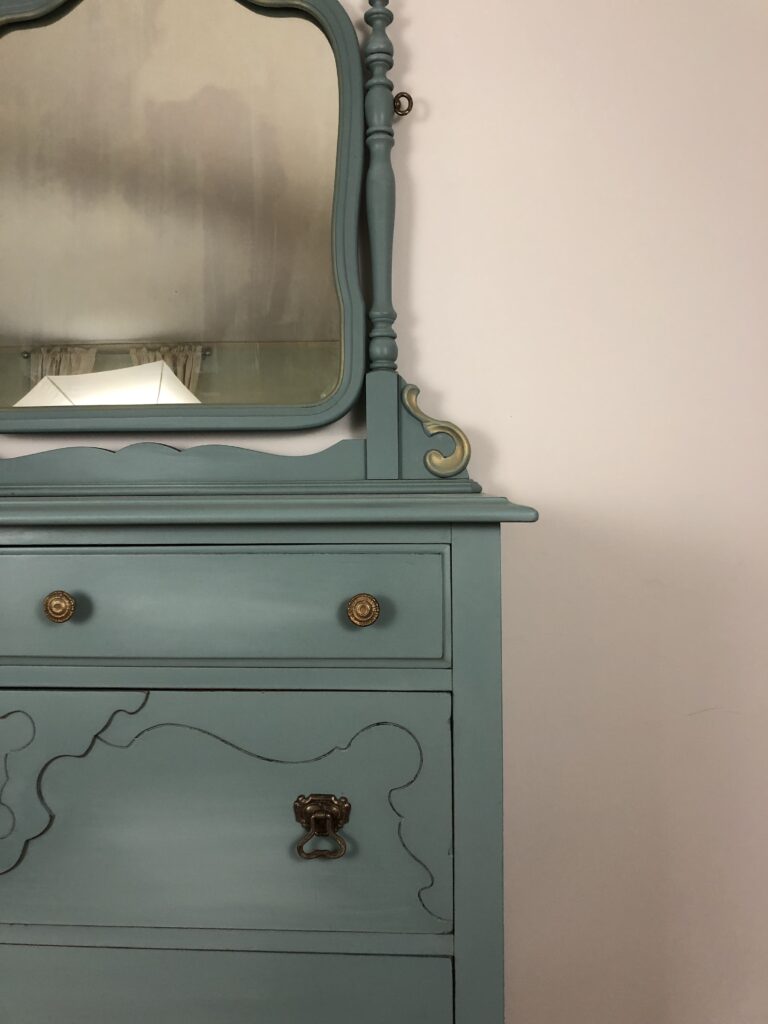
For this makeover, I used Dixie Belle Chalk Mineral Paint in Vintage Duck Egg Blue, blended with Cotton to soften the color, and finished with Warm Gold Gilding Wax for just a hint of detail.
This piece started out dark and dated, but with a few simple steps, it completely transformed into something light, fresh, and full of character.
This post may contain affiliate links, which means I may earn a small commission at no extra cost to you. I only recommend products I personally use and trust.
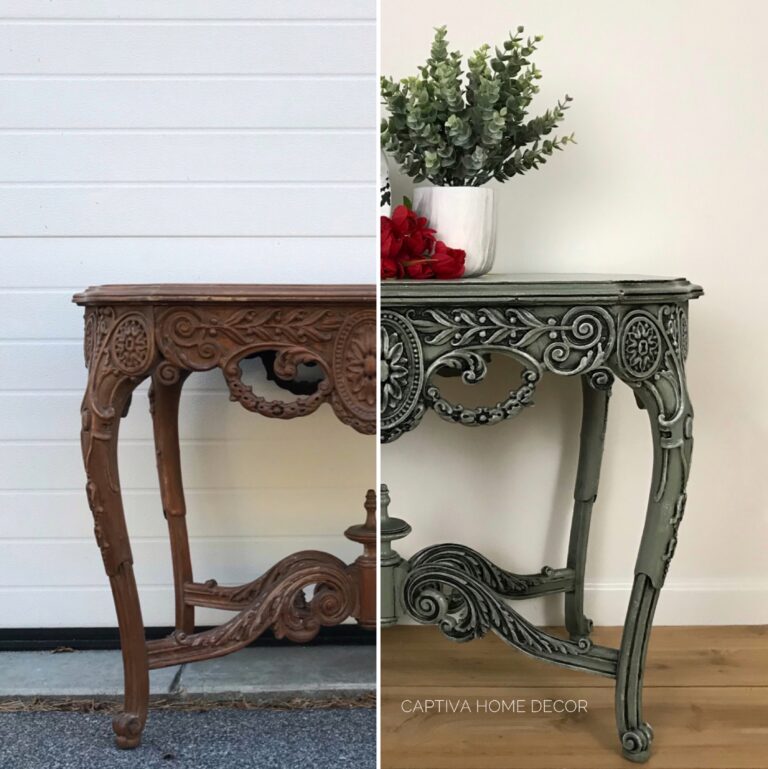
Before Photo
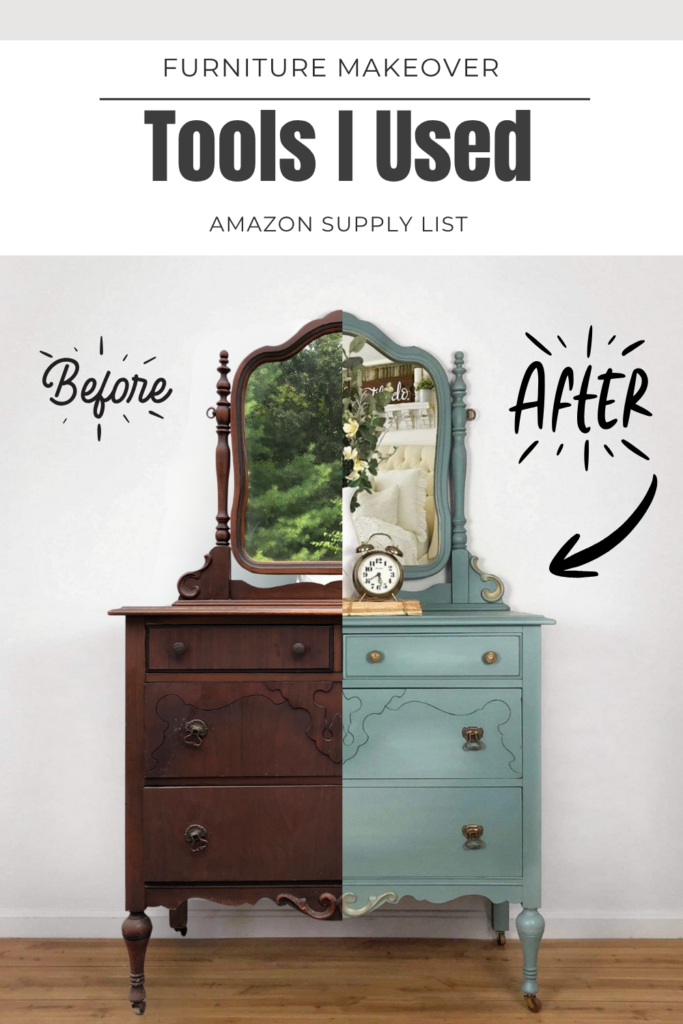
This project uses a simple paint + blend technique with a subtle gilded finish to elevate the final look.
Materials Used
Here’s what I recommend using to recreate this finish:
Paint Options:
- Dixie Belle Chalk Mineral Paint in Duck Egg Blue
- Dixie Belle Chalk Mineral Paint in Cotton (for blending)
Tools:
- High-quality brush (ClingOn or similar)
- Sanding pads
- Clean rags
Finishes:
Step 1: Prep Your Piece
Start by removing hardware and thoroughly cleaning your piece. This step makes a huge difference in how well your paint adheres.
Lightly sand the surface to give the paint something to grip onto—no need to overdo it.
Start by removing hardware and thoroughly cleaning your piece. This step makes a huge difference in how well your paint adheres.
Step 2: Apply Your Base Coat
Apply Dixie Belle Vintage Duck Egg Blue as your base color.
Use smooth, even strokes and don’t worry about perfection—this finish actually looks better with a little variation.
Step 3: Blend with Cotton
While your paint is still workable (or lightly mist if needed), use Dixie Belle Cotton to blend and soften the color.
Focus on edges, raised details, and areas where you naturally want highlights.
This step adds depth and keeps the finish from feeling flat.
Step 4: Light Distressing
If you want to add a bit more character, this is the step where it all comes together.
Using a sanding pad, lightly distress edges, corners, and raised details—anywhere the piece would naturally wear over time.
Focus on areas like drawer edges, legs, and trim. The goal is to reveal subtle layers and create a more dimensional, lived-in look.
Start light—you can always go back and add more if needed.
Here’s exactly how I distress to get a natural, balanced finish:
Step 5: Apply a Topcoat (Gator Hide)
Before adding any finishing details, I like to seal the piece with a durable topcoat.
For this project, I used Dixie Belle Gator Hide. It’s a really strong, water-resistant topcoat that helps protect your finish—especially on high-use pieces.
Apply a thin, even coat using a clean brush or applicator. Be careful not to overwork it, and watch for drips along edges.
Let it dry fully before moving on to the next step.
Learn all about Top Coats here: Best Top Coat for Painted Furniture (Matte vs Satin vs Gloss Explained)
Step 5: Add Gilding Wax
This is my favorite part. Once your topcoat is fully dry, you can add your finishing details.
Using a small amount of warm gold gilding wax, highlight details, edges, and hardware areas.
A little goes a long way—this step adds just enough contrast and interest without overpowering the piece.
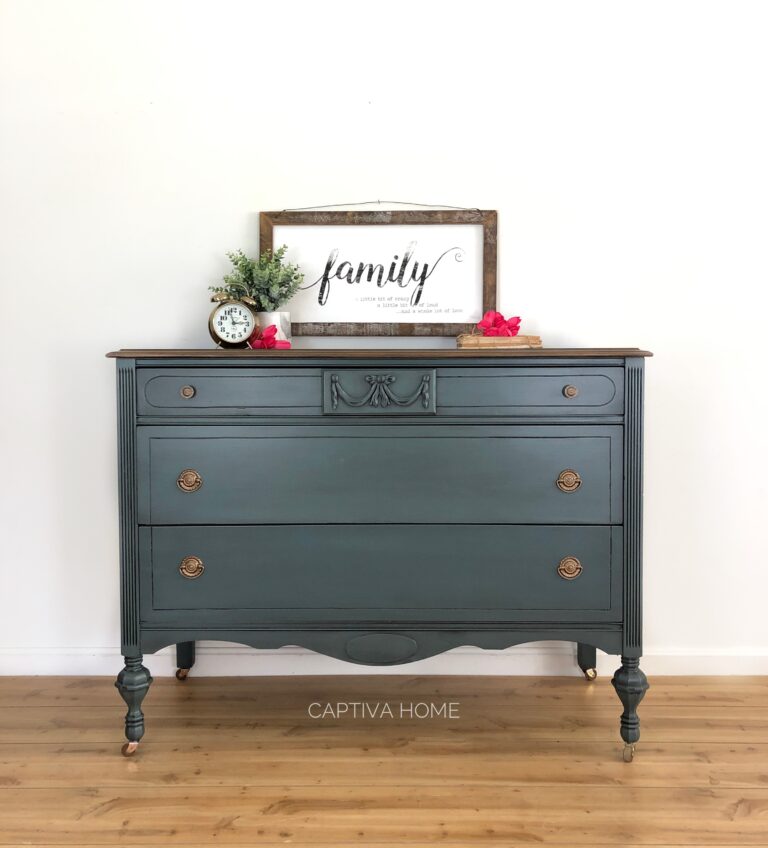
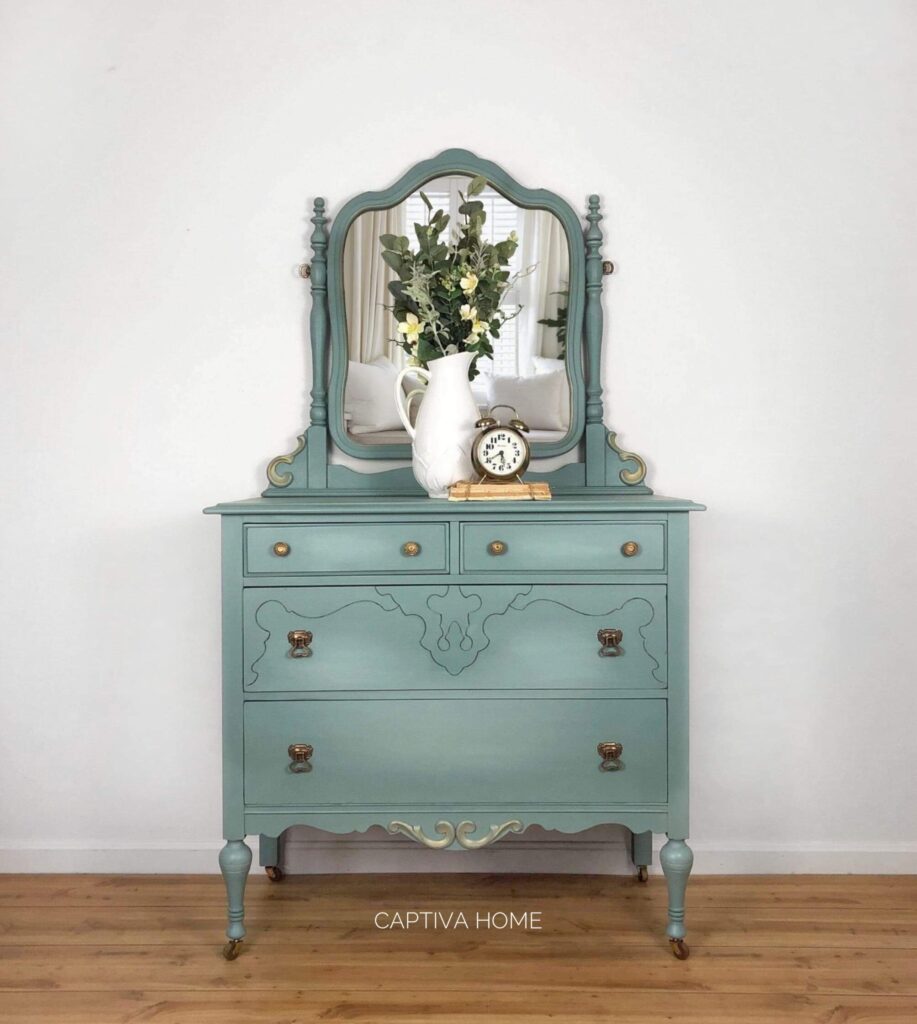
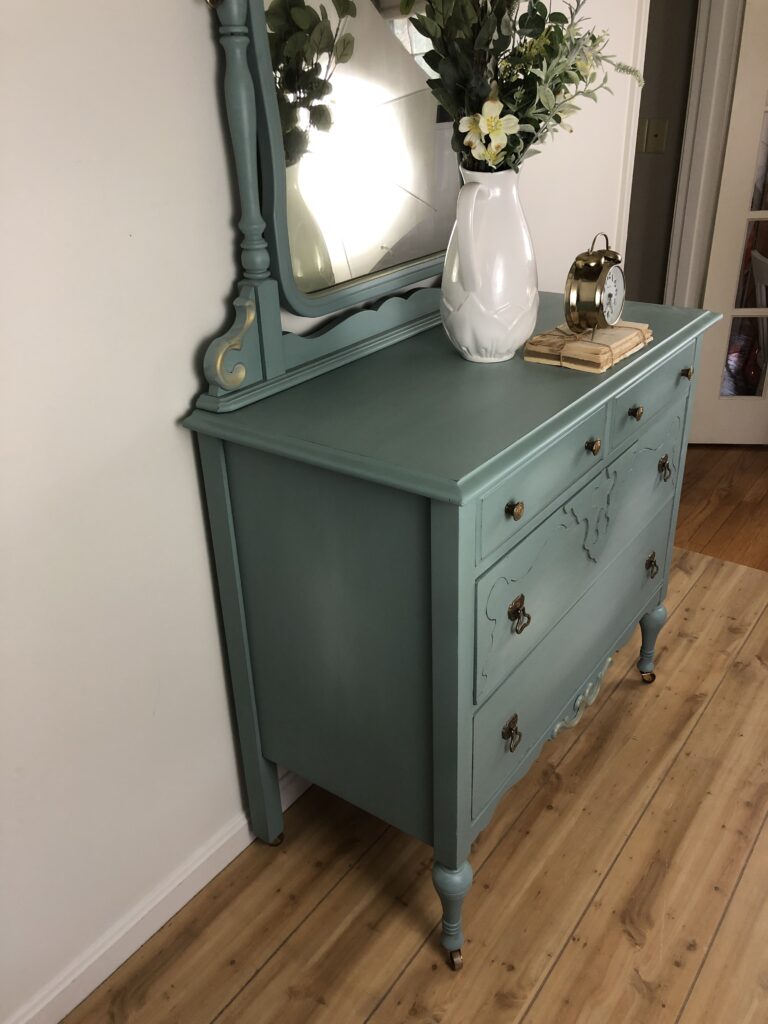
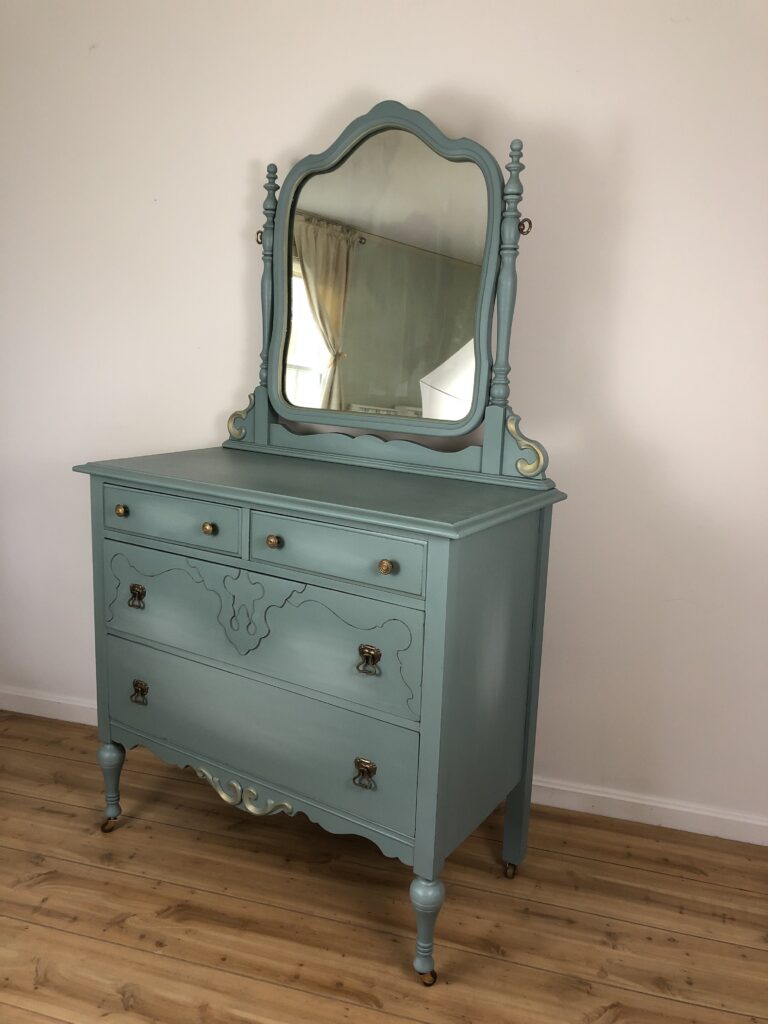
After Photos
My Exact Setup
Here’s what I recommend using to recreate this finish:
Paint Options:
- Dixie Belle Chalk Mineral Paint in Duck Egg Blue
- Dixie Belle Chalk Mineral Paint in Cotton (for blending)
Brush:
- High-quality brush (ClingOn or similar)
Finishes:
Tips for Best Results
- Use thin coats of paint
- Blend lightly—don’t overwork it
- Keep your finish consistent across the piece
- Start with a light distress, add more as you go
- Use just a touch of gilding wax
Conclusion
This is one of those projects that looks high-end but is actually really simple to achieve.
With just a few products and a little blending, you can completely transform a piece into something unique and custom.
If you try this technique, I’d love to see how it turns out!
Pin this now so you can find it later!


Keep Reading: Furniture Painting Guides You’ll Actually Use
If you’re working on a furniture project, these are the exact guides I recommend (this is the system I personally follow 👇)
🎯 Start Here (Core Guides)
🛠 Fix Common Problems
🎨 Choose the Right Products
- Best White Paint for Furniture
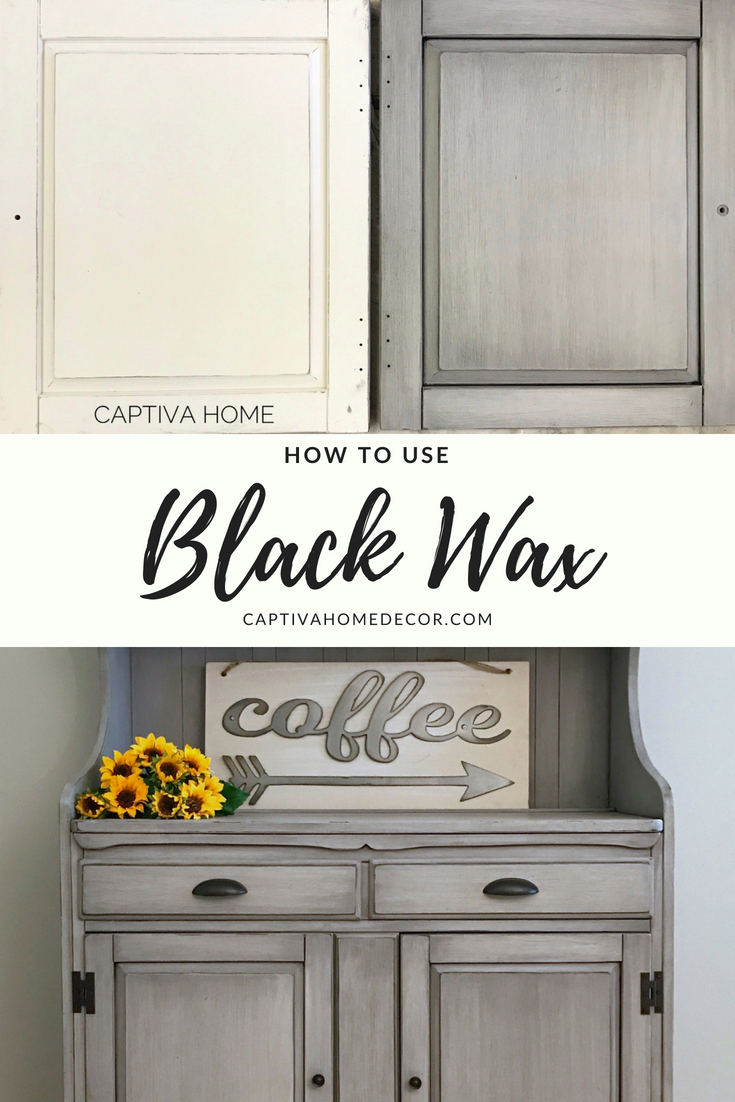
- Best Black Paint for Furniture
- Best Primer for Furniture
👉 These will walk you through exactly what to use and how to get a professional finish.
🔥 Want the exact supplies I use?
👉 Check out my Furniture Painting Starter Kit (everything I use in one place)