Intro
If you’ve been wanting to update an old dresser but aren’t sure where to start, this is a great beginner project.
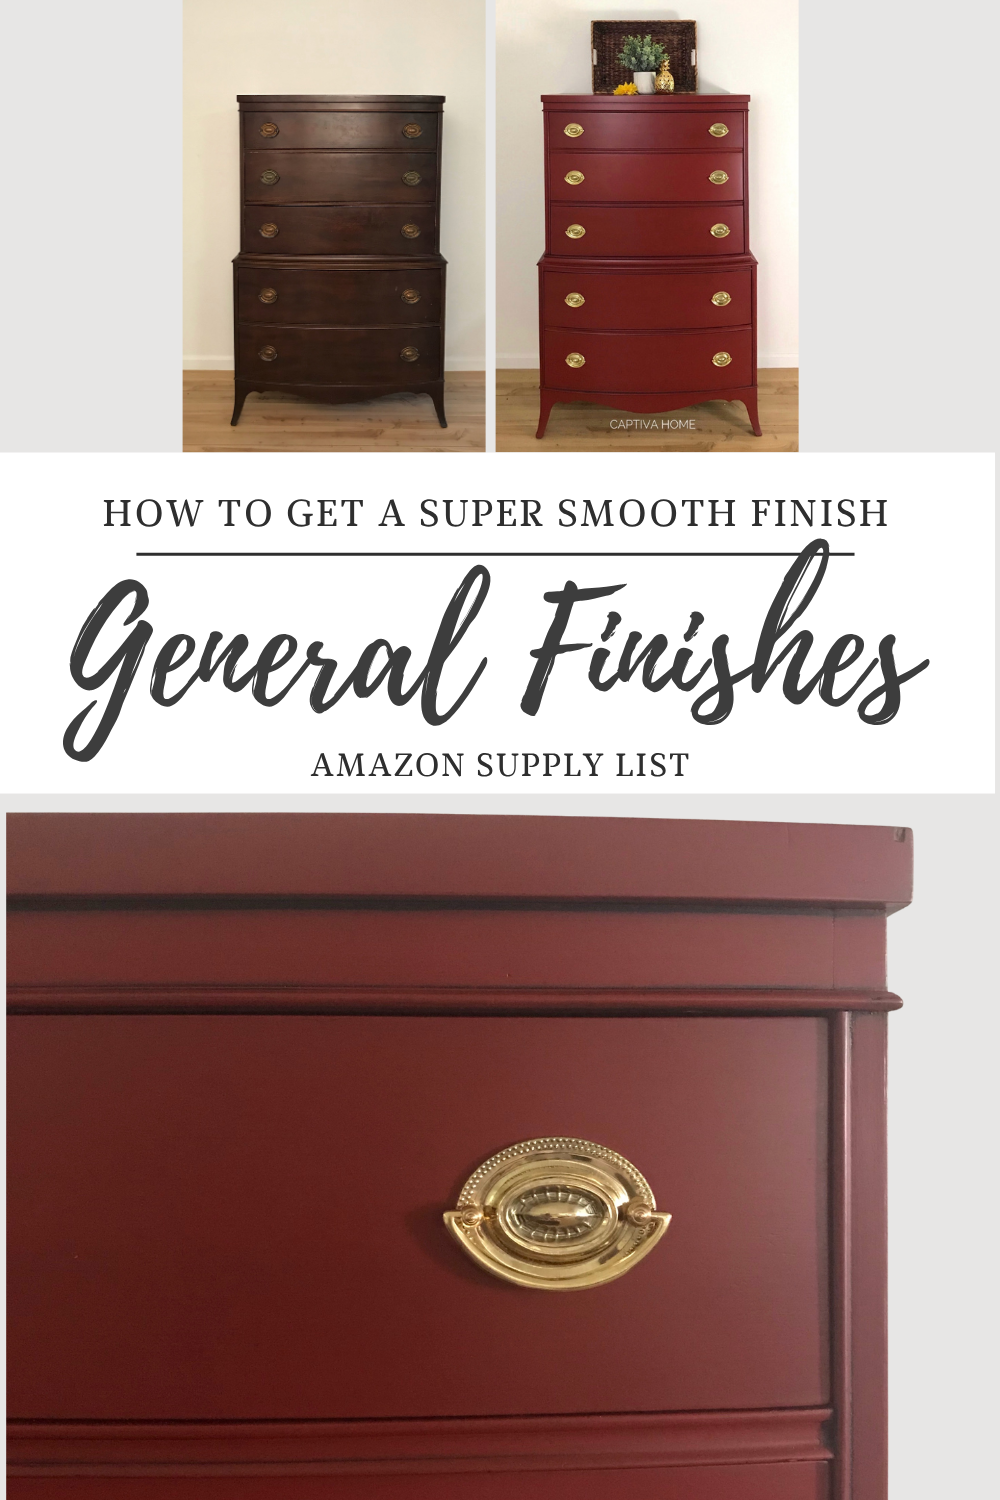
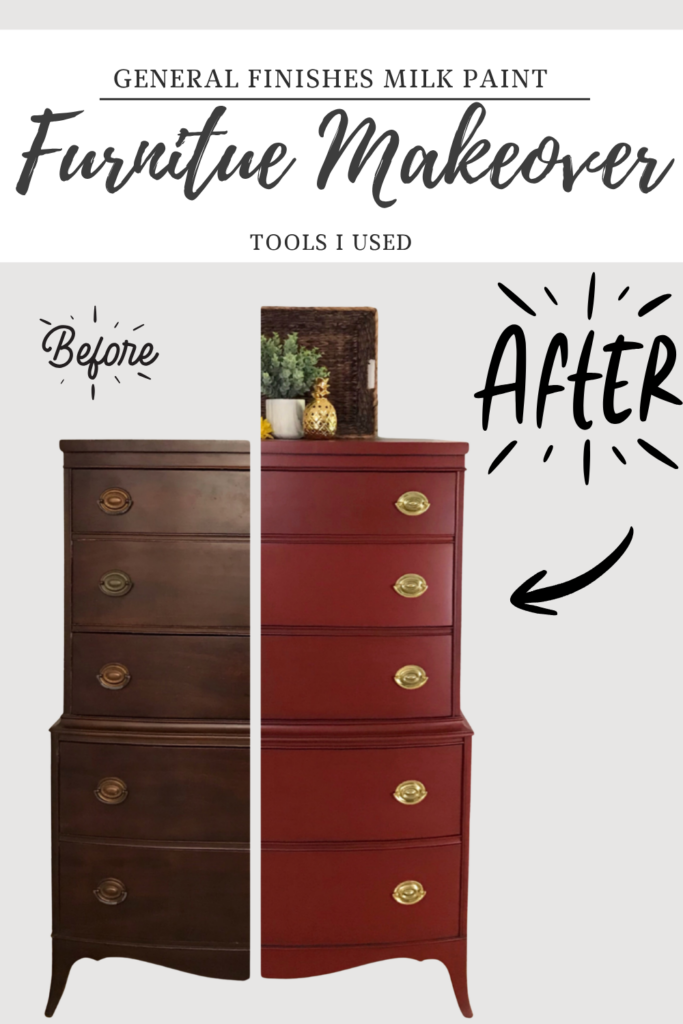
In this tutorial, I’ll walk you through exactly how to paint a dresser (Step-by-Step Beginner Guide), including the products I use and what makes the biggest difference in getting a smooth, professional finish.
This post may contain affiliate links, which means I may earn a small commission at no extra cost to you.
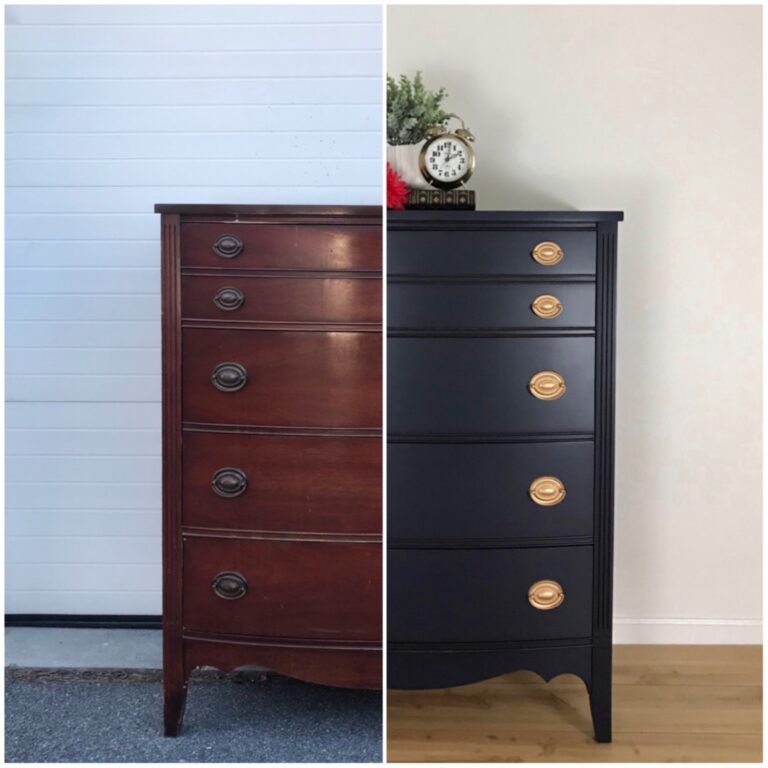
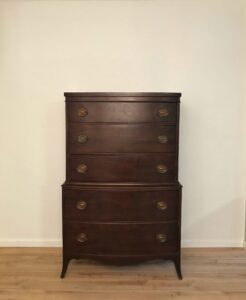
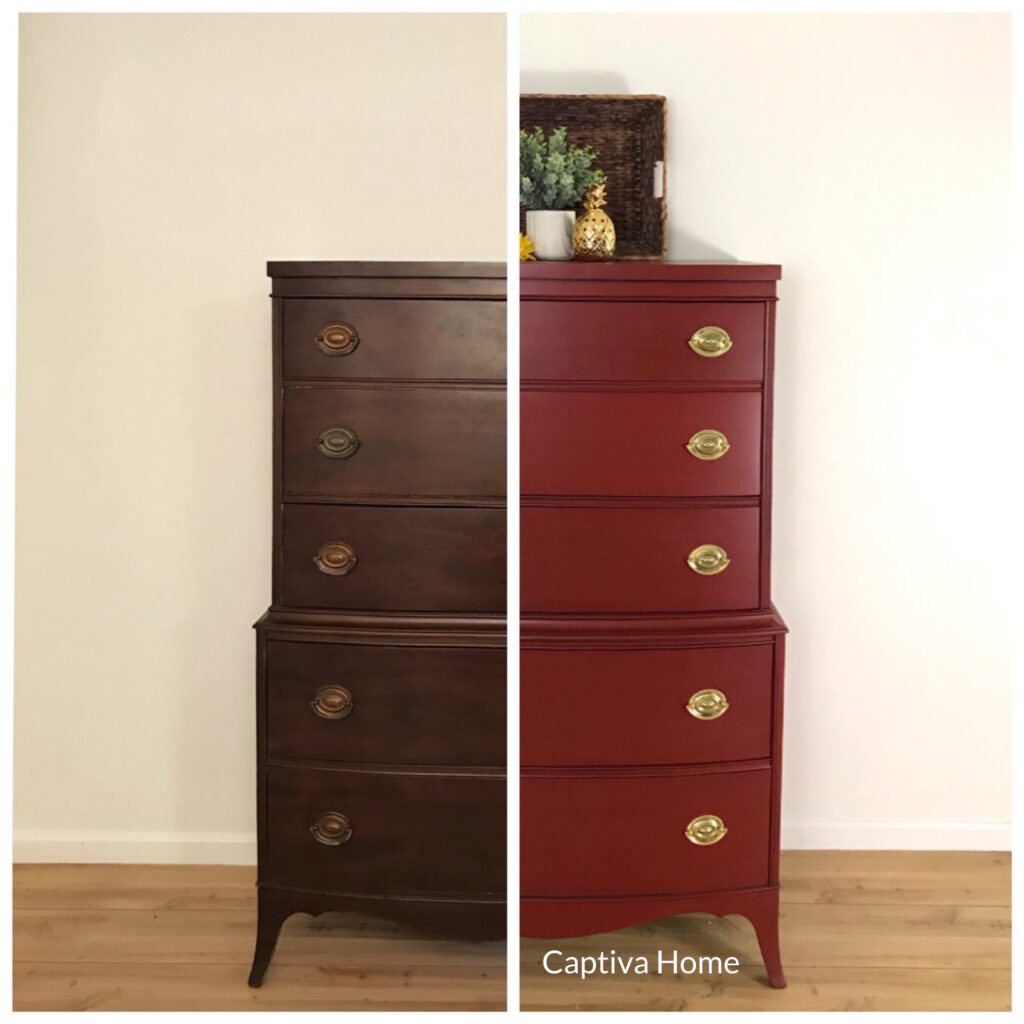
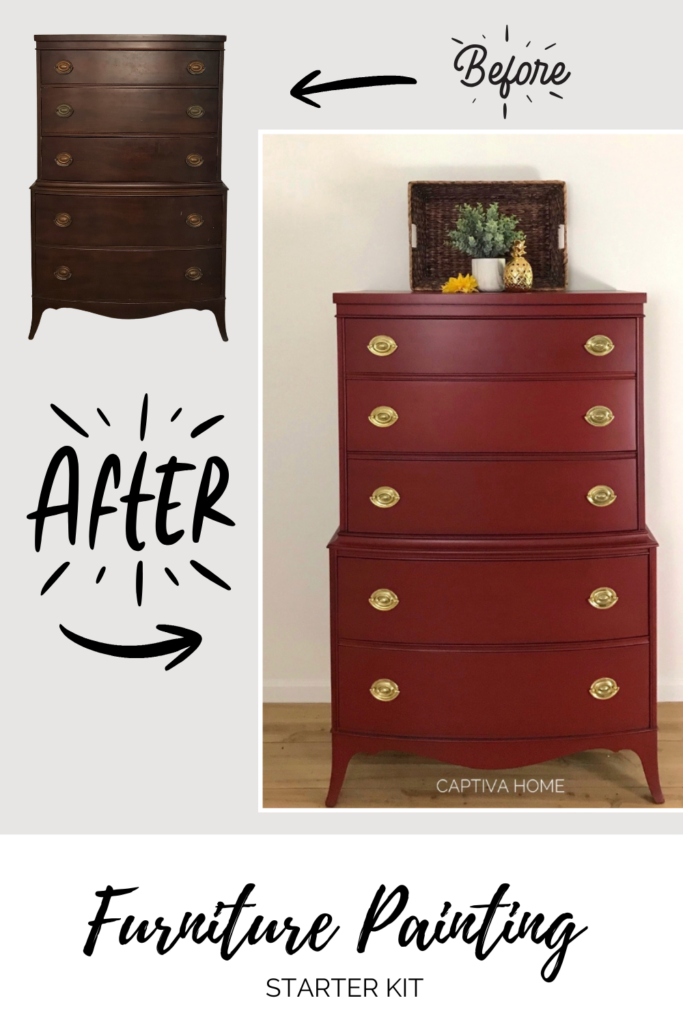
Before Photo
Materials Used
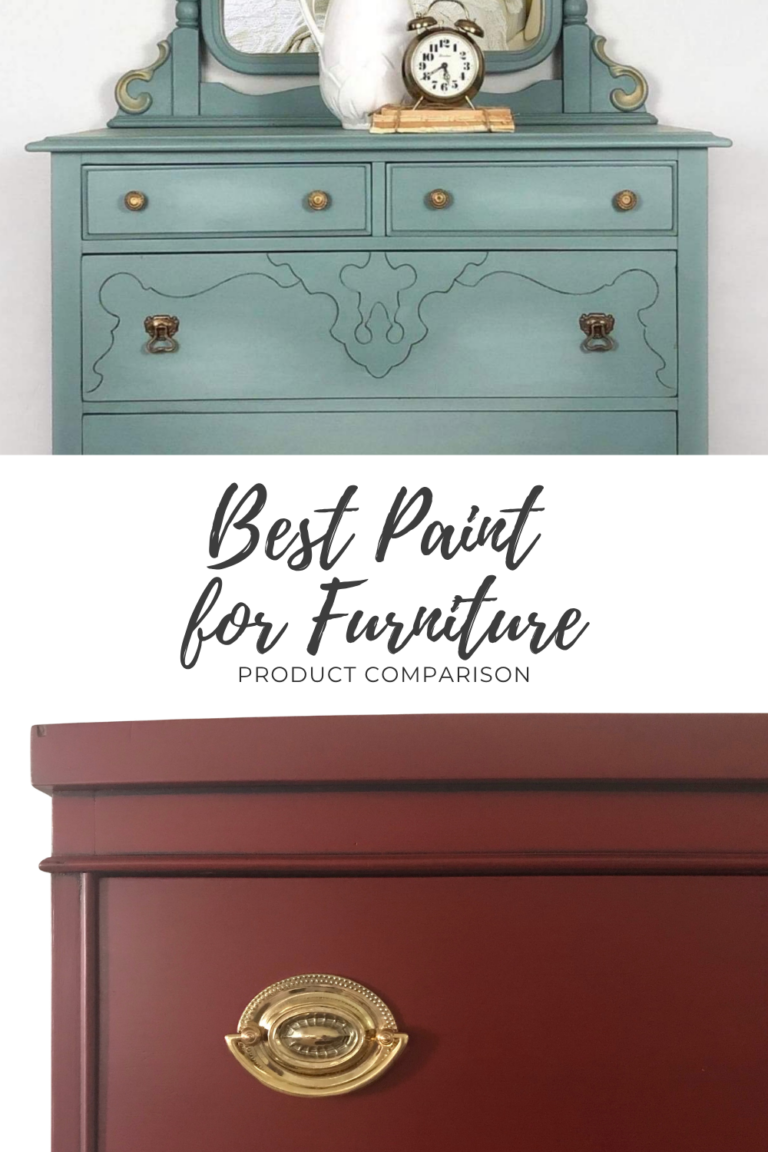
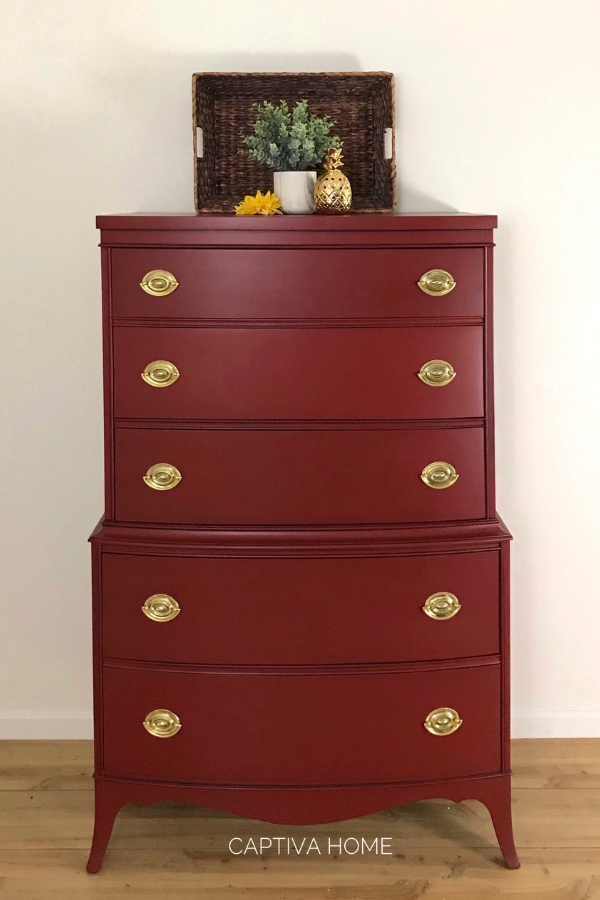
- Paint: General Finishes Milk Paint in Brick Red
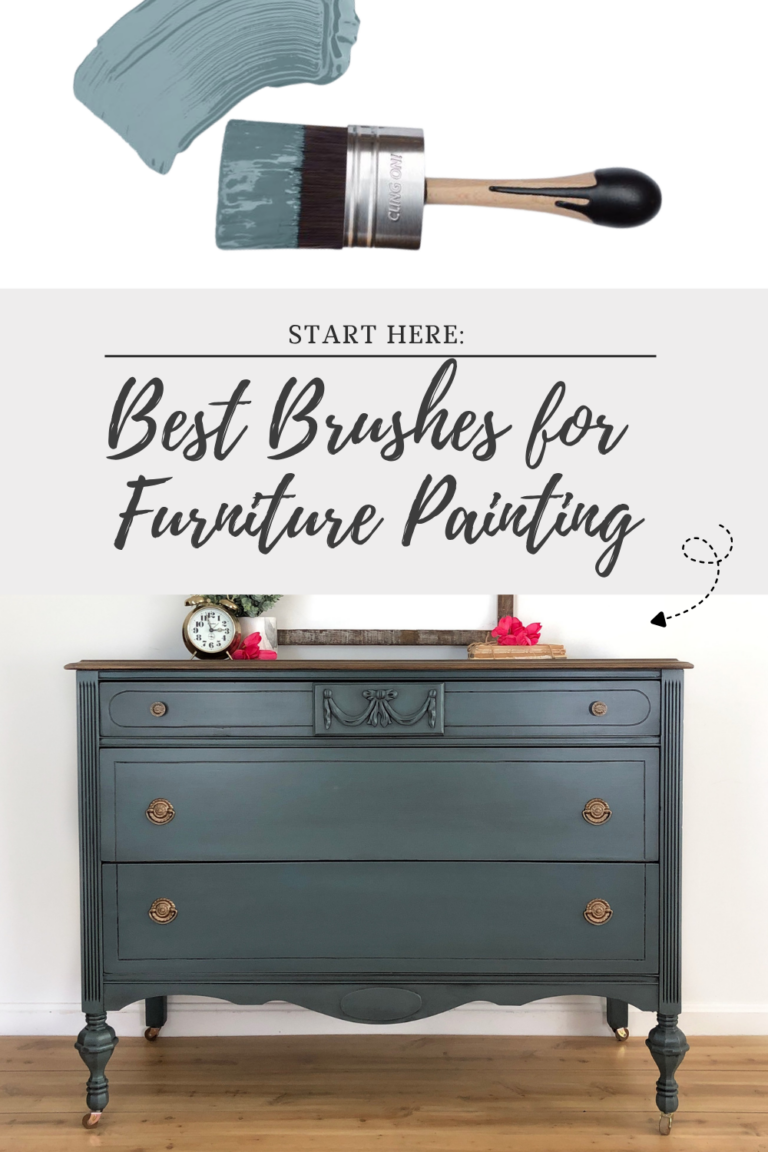
- Paint Brush: ClingOn F40 Flat Brush
- Cleaner: 50/50 Denatured Alcohol & water
- Glaze: General Finishes Glaze in Pitch Black
- Topcoat: General Finishes High Performance Topcoat in Satin
Step 1: Clean the Surface
Start by thoroughly cleaning the dresser to remove any dirt, grease, or residue. This step is important because paint won’t adhere well to a dirty surface.
Step 2: Lightly Sand
Lightly sand the surface using a fine grit sanding sponge. You don’t need to remove the existing finish—just scuff it enough to help the paint stick.
Step 3: Apply First Coat of Paint
Apply a thin, even coat of paint using a high-quality brush. Work in smooth, consistent strokes to reduce brush marks. Watch here for full overview.
Step 4: Apply Second Coat
Once the first coat is fully dry, apply a second coat for full coverage. Most furniture paints will need at least two coats for the best results.
Step 5: Seal with Topcoat
After the paint has dried, apply a protective topcoat. This helps prevent chipping and gives your piece long-lasting durability.
Step 6: Glaze (optional upgrade)
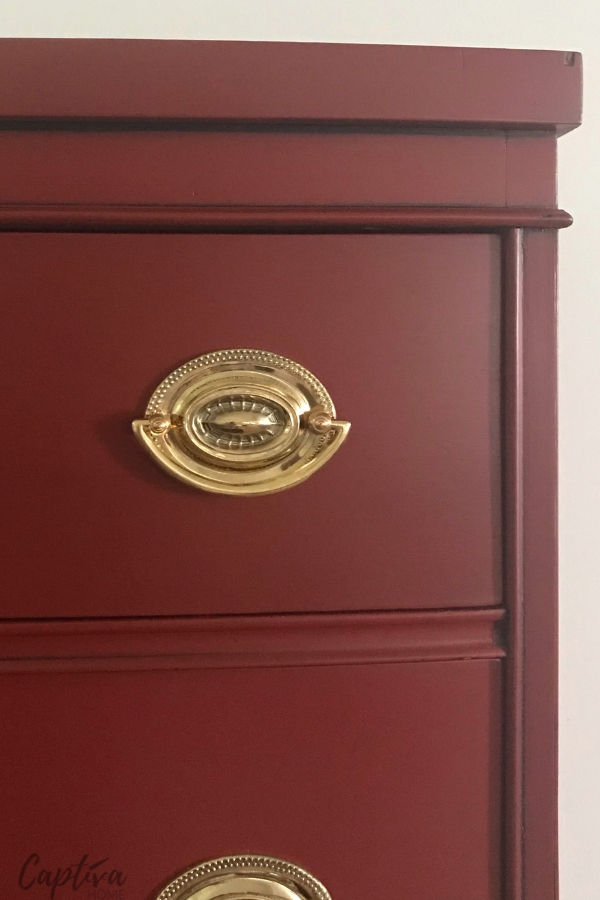
If you want to add depth and dimension to your piece, applying a glaze is a great optional step.
Using a soft cloth or brush, apply a thin layer of glaze over the painted surface, working it into details, edges, and corners. Then gently wipe back the excess to control how much color remains.
This step helps highlight texture and gives the piece a more custom, finished look—especially on furniture with details or molding.
Here’s exactly how I apply glaze and control the finish:
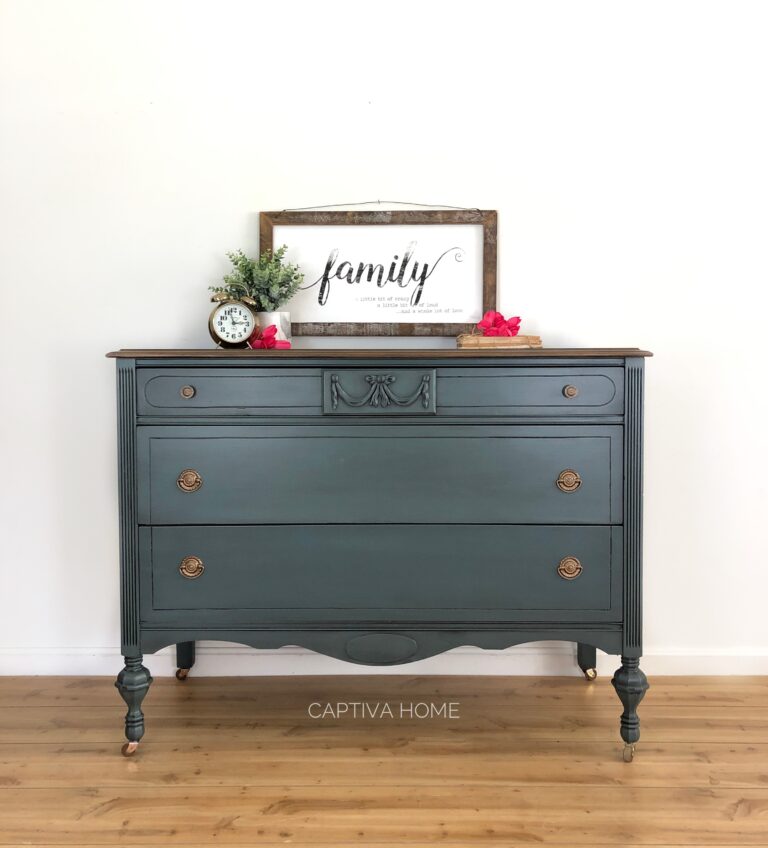
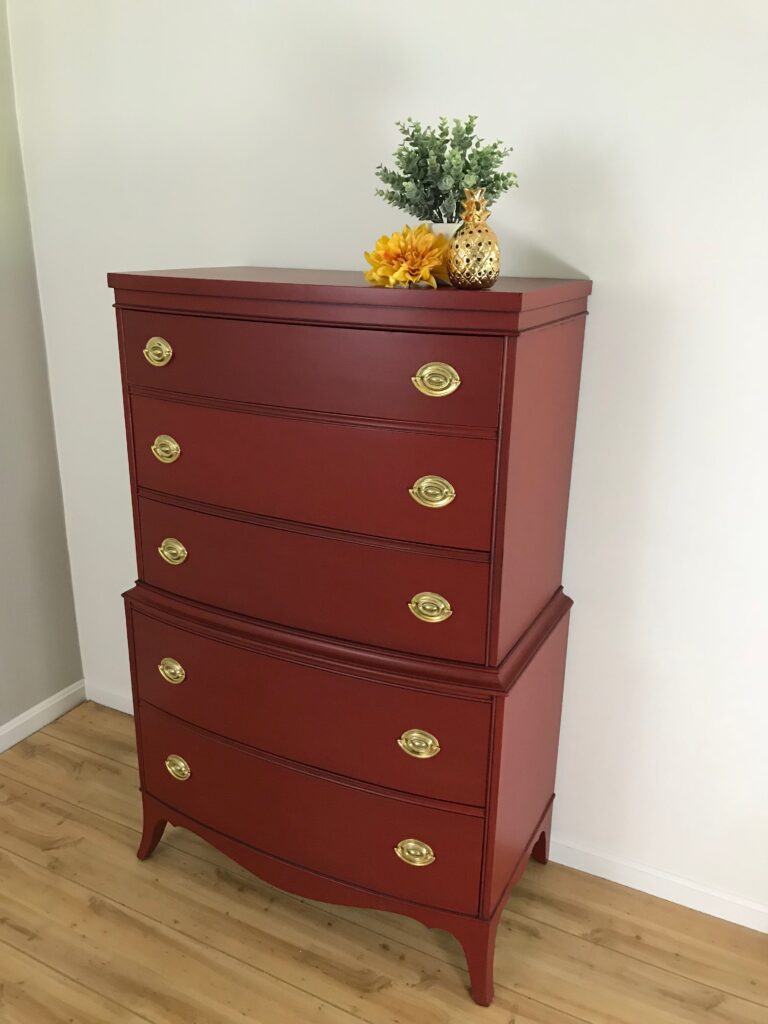
After Photos
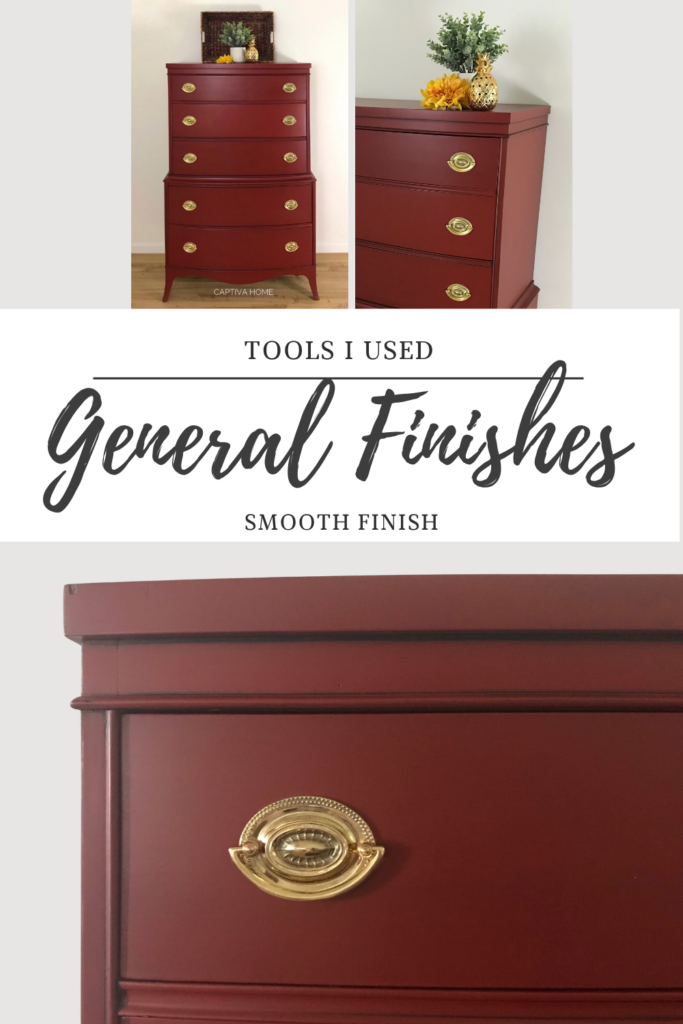
What I Used
If you’re just getting started, using the right products makes all the difference. You can find everything I used for this project below.
My Exact Setup:
- Paint Brush: ClingOn F40 Flat Brush
- Paint: General Finishes Milk Paint in Brick Red
- Glaze: General Finishes Glaze in Pitch Black
- Topcoat: General Finishes High Performance Topcoat in Satin
TIPS FOR BEST RESULTS
- Don’t skip cleaning
- Use thin coats
- Let each layer dry fully
- Use a quality brush
CONCLUSION
Painting a dresser is one of the easiest ways to transform a piece of furniture without spending a lot of money.
Once you get comfortable with the process, you can apply these same steps to almost any furniture project.
Pin this now!
Keep Reading & Build Your Skills
If you’re working on a furniture painting project, these guides will help you get better results:
Start Here (Core Guides):
– Best Paint for Furniture
Best
– Best Brushes for Furniture Painting
– Best Top Coat for Painted Furniture
Fix Common Problems:
– How to Get a Smooth Finish (No Brush Strokes)
– Why Your Paint Looks Streaky (And How to Fix It)
Choose the Right Products:
– Best White Paint for Furniture
– Best White
– Best Black Paint for Furniture
– Best Primer for Furniture
👉 These posts will walk you through exactly what to use and how to get a professional finish.