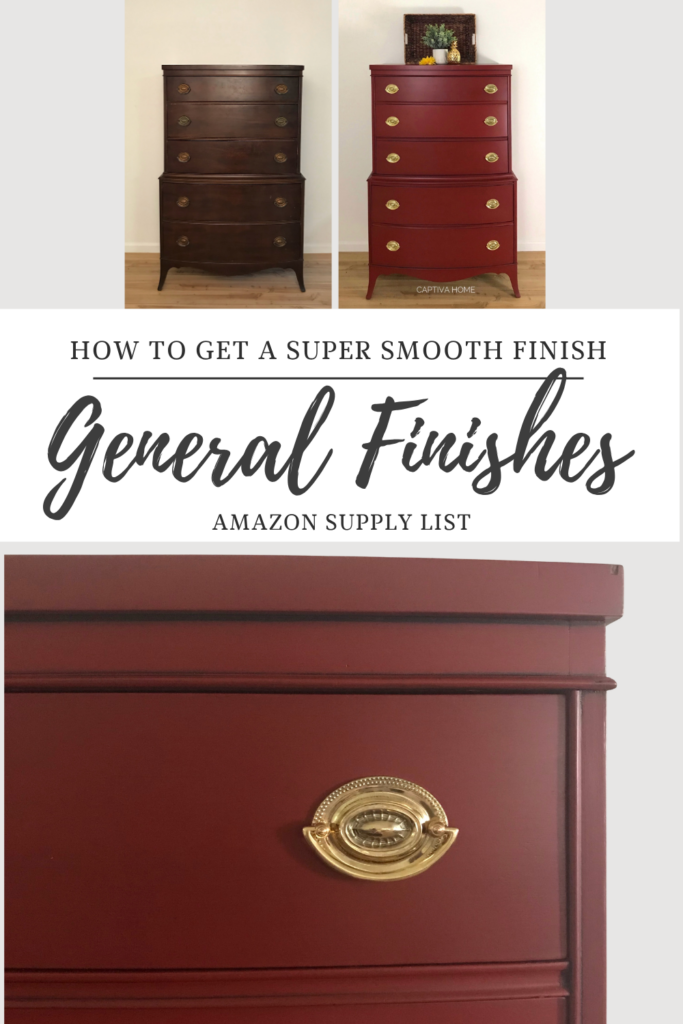
How to Get a Smooth Finish When Painting Furniture (No Brush Strokes)
If your painted furniture looks streaky, uneven, or just not “professional”—you’re not alone.
This is the #1 frustration I hear:
👉 “Why does my paint not look smooth?”
The good news?
It’s not your skill—it’s your process.
Once you dial in a few key things, getting a smooth, brushstroke-free finish becomes completely repeatable.
In this guide, I’ll walk you through:
- The exact tools I use (and recommend)
- Why your paint matters more than you think
- How to eliminate brush strokes step-by-step
- When it’s time to upgrade to spraying
The 3 Things That Control Your Finish
A smooth finish comes down to three things:
- Your paint
- Your brush
- Your technique
If even one of these is off—you’ll see it in your final result.
1. Use the Right Paint (This Matters More Than You Think)
Not all paints level the same—and that’s a big reason finishes look different.
I consistently get my smoothest results using General Finishes Milk Paint.
Why I Recommend It:
- Self-levels better than most furniture paints
- Thinner consistency = fewer brush marks
- Durable finish
- Very predictable results
👉 If your goal is a smooth, modern finish—this is one of the easiest ways to get there.
2. Use the Right Brush (This Is a Game Changer)
If you’re using a basic or cheaper brush, it’s working against you.
👉 This is where most people go wrong
For smooth finishes, I use:
Cling On S50 Brush (My #1 Recommendation)
The S50 is my go-to for a reason—it consistently gives the best results.
Why the S50 Works So Well:
- Holds a lot of paint (fewer reloads = smoother passes)
- Lays paint down evenly
- Minimizes visible brush strokes
- Perfect size for most furniture pieces
👉 If you upgrade ONE thing—make it this brush
Cling On brushes in general are designed specifically for water-based paints and smooth application.
Important:
These are for smooth finishes—not blending or texture.

3. Prep Your Surface Properly
You don’t always need to sand heavily—but you do need a clean surface.
At minimum:
- Clean your piece thoroughly
- Lightly scuff sand if needed
- Remove dust
👉 Smooth paint starts with a smooth surface
4. Apply Thin, Even Coats
This is where technique comes in.
What to do:
- Load your brush—but don’t overload it
- Apply in long, even strokes
- Avoid going back over drying paint
👉 Thick coats = more brush strokes
👉 Thin coats = smoother finish
5. Don’t Overwork the Paint
This is one of the biggest mistakes.
Once the paint starts to set—even slightly—leave it alone.
Going back over it will:
- Create drag
- Leave streaks
- Ruin the leveling process
👉 Put it on → smooth it out → move on
6. Sand Lightly Between Coats
If you want that ultra-smooth finish:
Do this between coats:
- Light sand with fine grit (220+)
- Wipe clean
This removes:
- Minor brush marks
- Dust nibs
- Imperfections
👉 This is the step that takes your finish from “good” to “professional”
7. Use the Right Top Coat
Your top coat affects your final look just as much as your paint.
I typically use water-based top coats from:
- General Finishes
- Dixie Belle
👉 Choose satin for the best balance of durability + smooth appearance
8. Control Your Environment (Often Overlooked)
Your workspace matters more than you think.
Avoid:
- Extreme humidity
- High heat
- Dusty areas
These can all affect how your paint dries and levels.
When You’re Ready to Level Up: Spraying
If you want the absolute smoothest possible finish:
👉 Spraying is the next step
Using a paint sprayer:
- Eliminates brush strokes entirely
- Creates a factory-like finish
- Works especially well with paints like General Finishes Milk Paint
I still brush most of my pieces—but spraying is a great upgrade once you’re comfortable with the basics.
(I’ll be sharing more on this soon.)
Common Mistakes That Cause Brush Strokes
Using the wrong brush
Cheap brushes = streaks
Using thick coats
Paint can’t level properly
Overworking the paint
Leads to drag marks
Skipping sanding between coats
Leaves texture behind
Shop My Smooth Finish Setup
Final Thoughts
If you want a smooth, professional-looking finish:
👉 Use the right paint
👉 Use the right brush
👉 Focus on thin, controlled application
My go-to combination:
- General Finishes Milk Paint
- Cling On S50 brush
That alone will dramatically improve your results.
Related Posts
Keep Reading: Furniture Painting Guides You’ll Actually Use
If you’re working on a furniture project, these are the exact guides I recommend (this is the system I personally follow 👇)
🎯 Start Here (Core Guides)
🛠 Fix Common Problems
🎨 Choose the Right Products
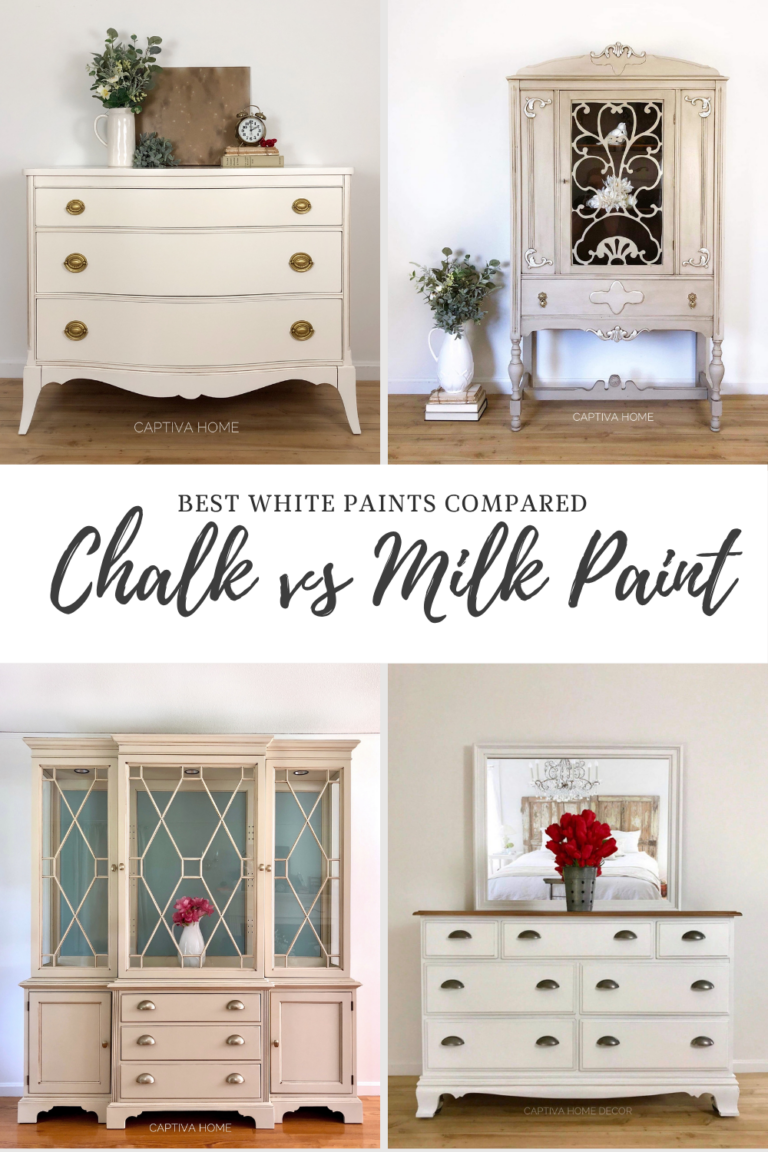
- Best White Paint for Furniture
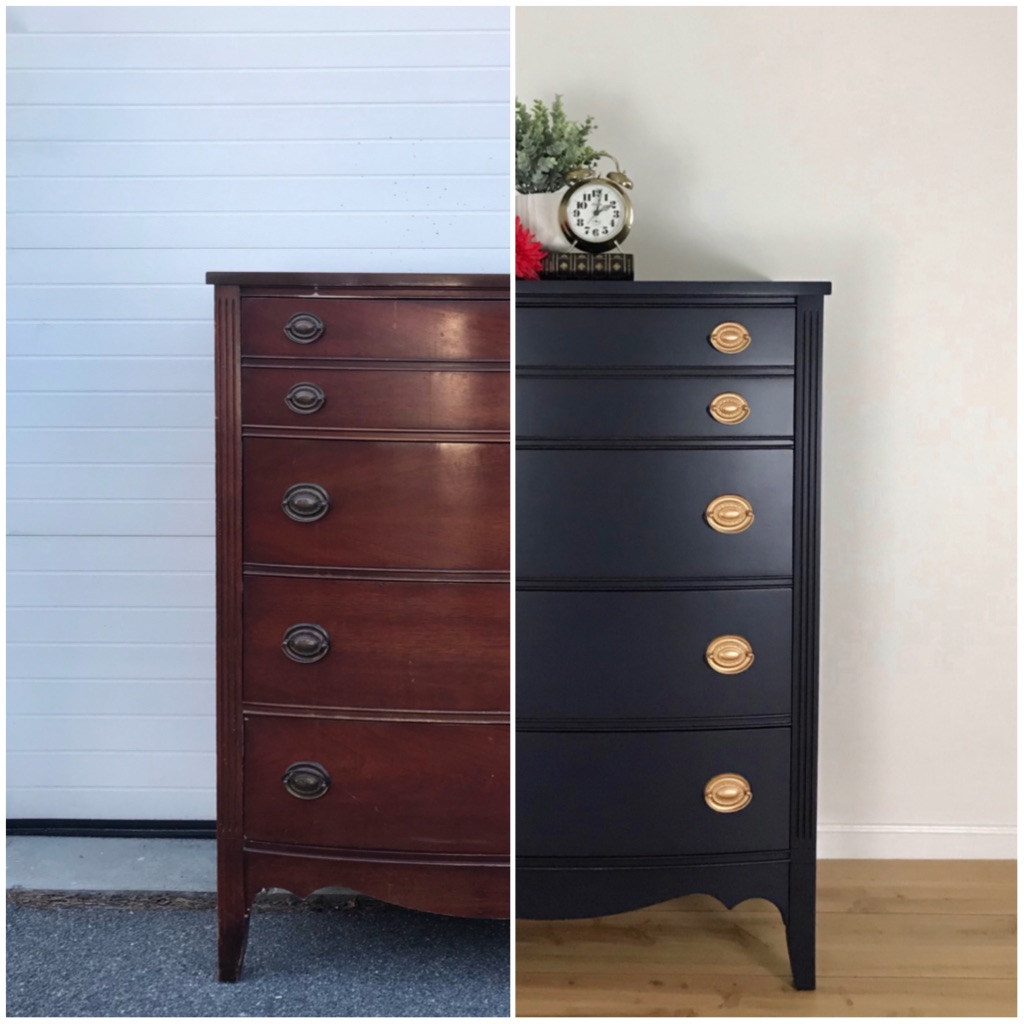
- Best Black Paint for Furniture
- Best Primer for Furniture
👉 These will walk you through exactly what to use and how to get a professional finish.
🔥 Want the exact supplies I use?
👉 Check out my Furniture Painting Starter Kit (everything I use in one place)