How to Prep Furniture for Painting (Step-by-Step for a Smooth Finish)
If you’re learning how to prep furniture for painting, this step-by-step guide will show you exactly what to do before you start painting. From cleaning and sanding to choosing the right primer, these prep steps make the biggest difference in getting a smooth, professional finish.
If you want a smooth, professional finish when painting furniture, prep is everything. Skipping or rushing this step is the #1 reason paint ends up streaky, peeling, or uneven.
In this guide, I’ll walk you through exactly how to prep furniture for painting—including what to clean, when to sand, and which products actually make a difference.
Quick Picks (What I Use Every Time)
If you just want to know what works:
• Cleaner → White Lightning Cleaner
• Primer → BOSS (for bleed-through & stains)
• Sandpaper → 220 grit sanding pads
• Brush → Cling On Brush
👉 These are the products I use on almost every project for consistent results.
Why Furniture Prep Matters
Proper prep helps your paint:
• Stick better
• Go on smoother
• Last longer
• Avoid bleed-through and stains
If your paint has ever looked streaky or uneven, prep is usually the issue—not the paint.
If you’re already struggling with your finish, read: How to Get a Smooth Finish (No Brush Strokes)
Step 1: Clean the Surface Thoroughly
Before anything else, you need to remove dirt, grease, and residue.
Even furniture that looks clean can have oils that prevent paint from sticking.
What to use:
• White Lightning Cleaner (best for furniture)
• Warm water + mild degreaser (backup option)
How to do it:
• Spray or wipe down the entire surface
• Scrub areas like drawers, edges, and handles
• Let dry completely
Skipping this step = paint adhesion problems later
Step 2: Sand (When Needed)
Not every piece needs heavy sanding—but most benefit from a light scuff sand.
When to sand:
• Shiny or glossy finishes
• Previously sealed furniture
• Rough or damaged surfaces
Sandpaper Grit Guide (THIS MATTERS)
Choosing the right grit makes a huge difference in how your finish turns out:
80–120 grit (coarse)
• Removes old finish or heavy damage
• Smooths rough surfaces
• Use when furniture is in poor condition
Too rough for final prep—always follow with a finer grit
150–180 grit (medium)
• General prep sanding
• Smooths out repairs (like wood filler)
• Great transition between coarse and fine sanding
220 grit (fine – MOST COMMON)
• Light scuff sanding before painting
• Smooths surface without removing too much
• Best for most furniture projects
This is the grit I use most often
320+ grit (extra fine)
• Between coats (advanced use)
• Ultra-smooth finishes
• Light finishing work
How to sand properly:
• Lightly sand to dull the surface
• You don’t need to remove all the finish
• Always wipe away dust after sanding
Want a smoother, faster finish?
If you’re sanding often or want a more professional result:
Read: Mirka Sanding System Review (Why I Switched + What I Use)
This is what I use when I want:
• Faster sanding
• Less dust
• A more even finish
Step 3: Repair Any Damage
Before painting, fix any dents, scratches, or holes.
What to use:
• Wood filler
• Putty knife
Steps:
• Fill imperfections
• Let dry
• Sand smooth (150–220 grit works best here)
Step 4: Prime (When You Need It)
Primer is one of the most important steps—especially for problem pieces.
You NEED primer if:
• Wood has knots
• You see stains or discoloration
• You’re painting over dark wood
• You’ve had bleed-through before
What I use:
BOSS Primer (best for blocking bleed-through)
Not sure if you need primer?
Read: Best Primer for Furniture (When You Actually Need It)
Step 5: Final Clean Before Painting
After sanding and repairs:
• Wipe down the surface again
• Remove ALL dust
• Let dry
Now your piece is ready for paint.
Common Prep Mistakes to Avoid
• Skipping cleaning
• Not sanding glossy surfaces
• Ignoring bleed-through risks
• Using the wrong primer
• Painting over dust
These are the biggest reasons finishes fail
What to Do Next
Now that your furniture is prepped:
Read: Best Paint for Furniture (No Streaks)
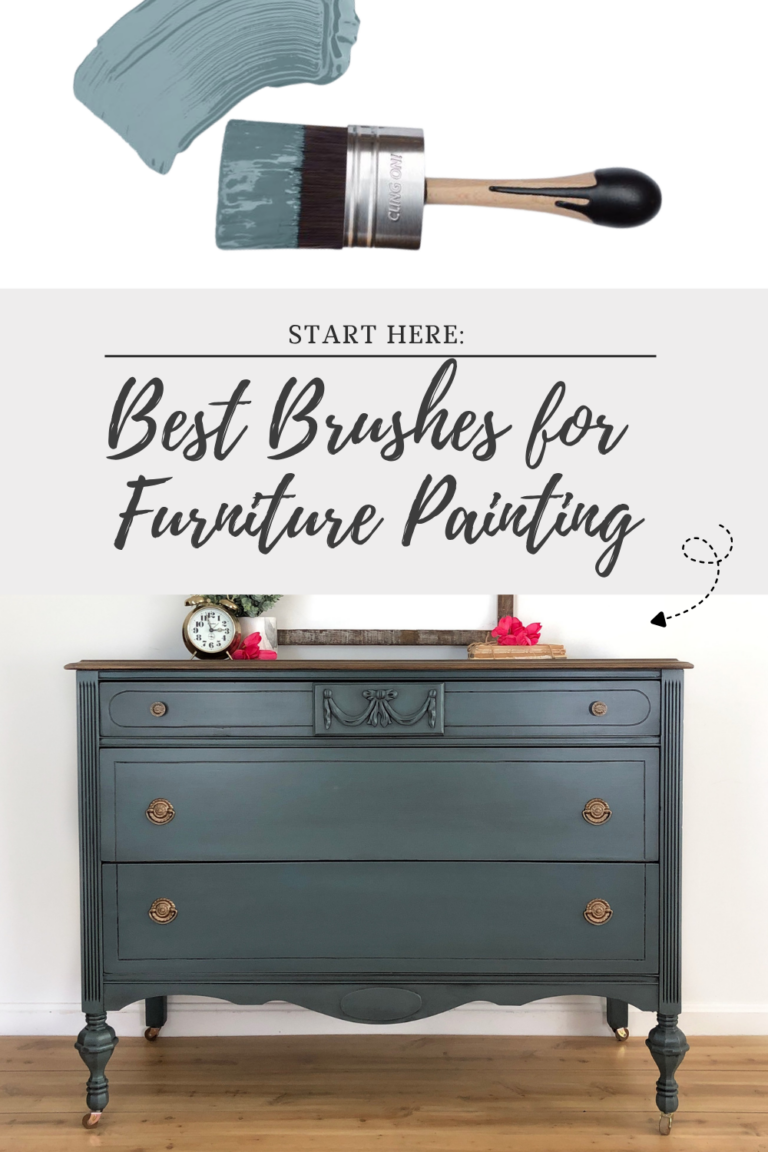
Read: Best Brushes for Furniture Painting
Read: Best Top Coat for Painted Furniture
Final Thoughts
Furniture prep might not be the most exciting step—but it makes the biggest difference.
If you take the time to prep properly, everything else becomes easier—and your final result will look professional.
Keep Reading: Furniture Painting Guides You’ll Actually Use
If you’re working on a furniture project, these are the exact guides I recommend (this is the system I personally follow 👇)
🎯 Start Here (Core Guides)
🛠 Fix Common Problems
🎨 Choose the Right Products
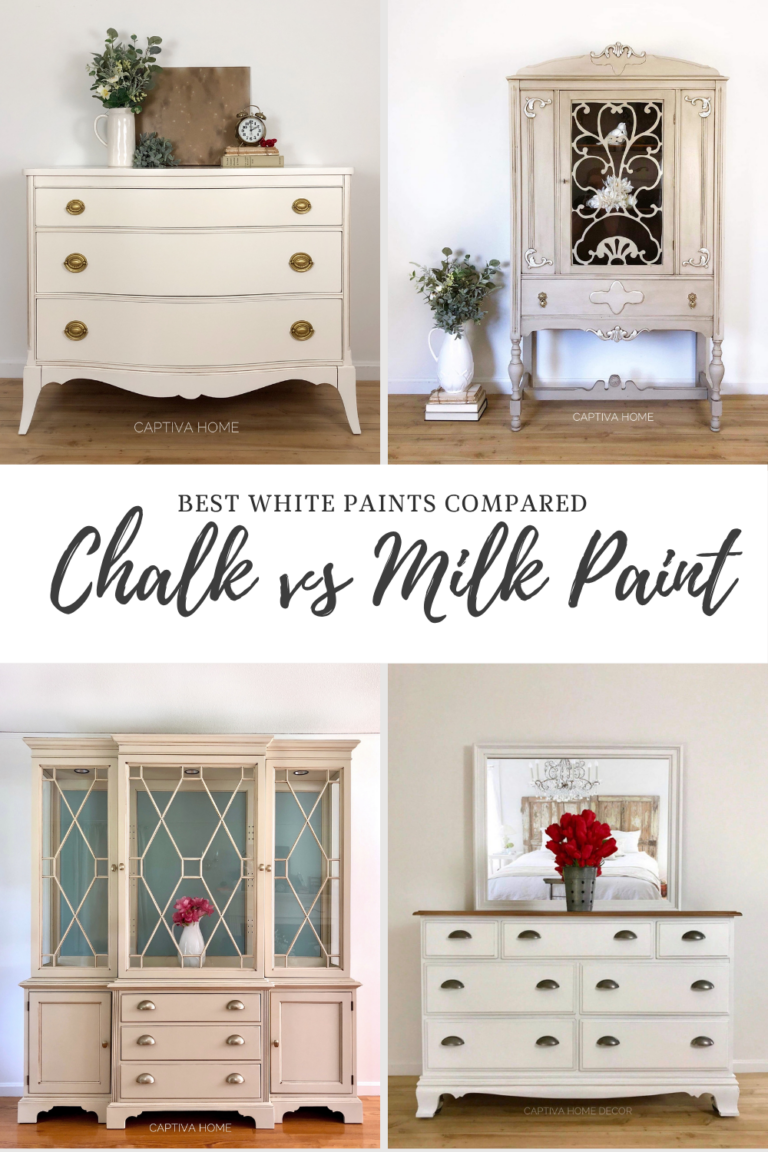
- Best White Paint for Furniture
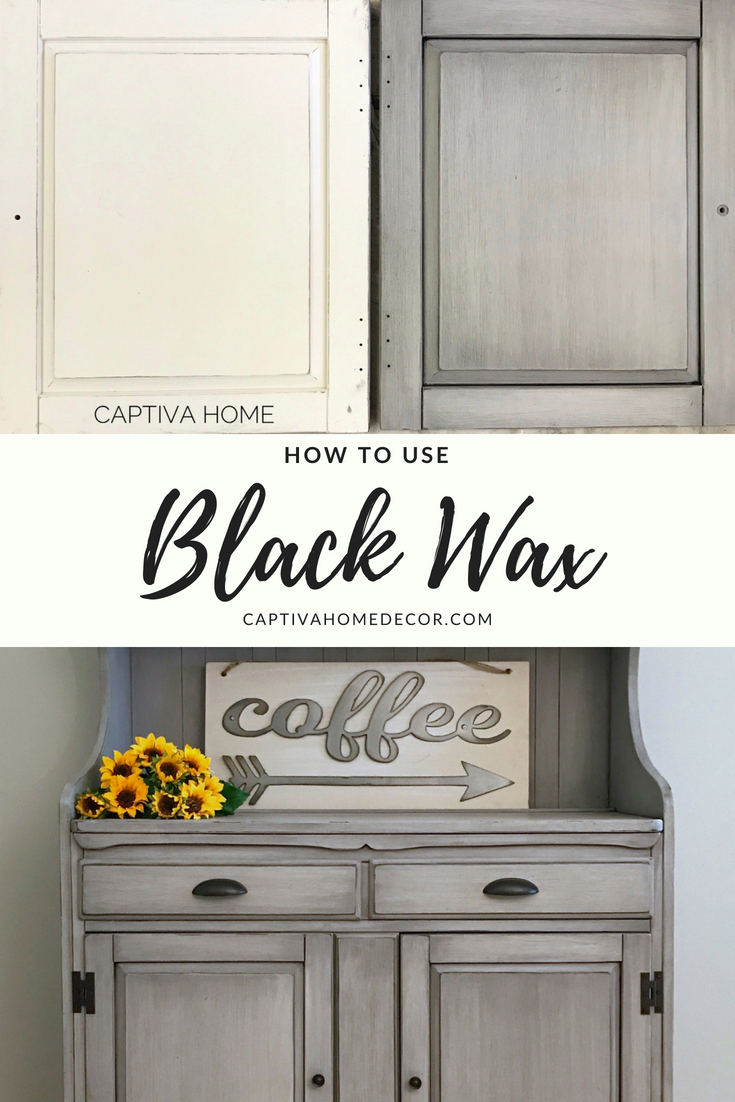
- Best Black Paint for Furniture
- Best Primer for Furniture
👉 These will walk you through exactly what to use and how to get a professional finish.
🔥 Want the exact supplies I use?
👉 Check out my Furniture Painting Starter Kit (everything I use in one place)